
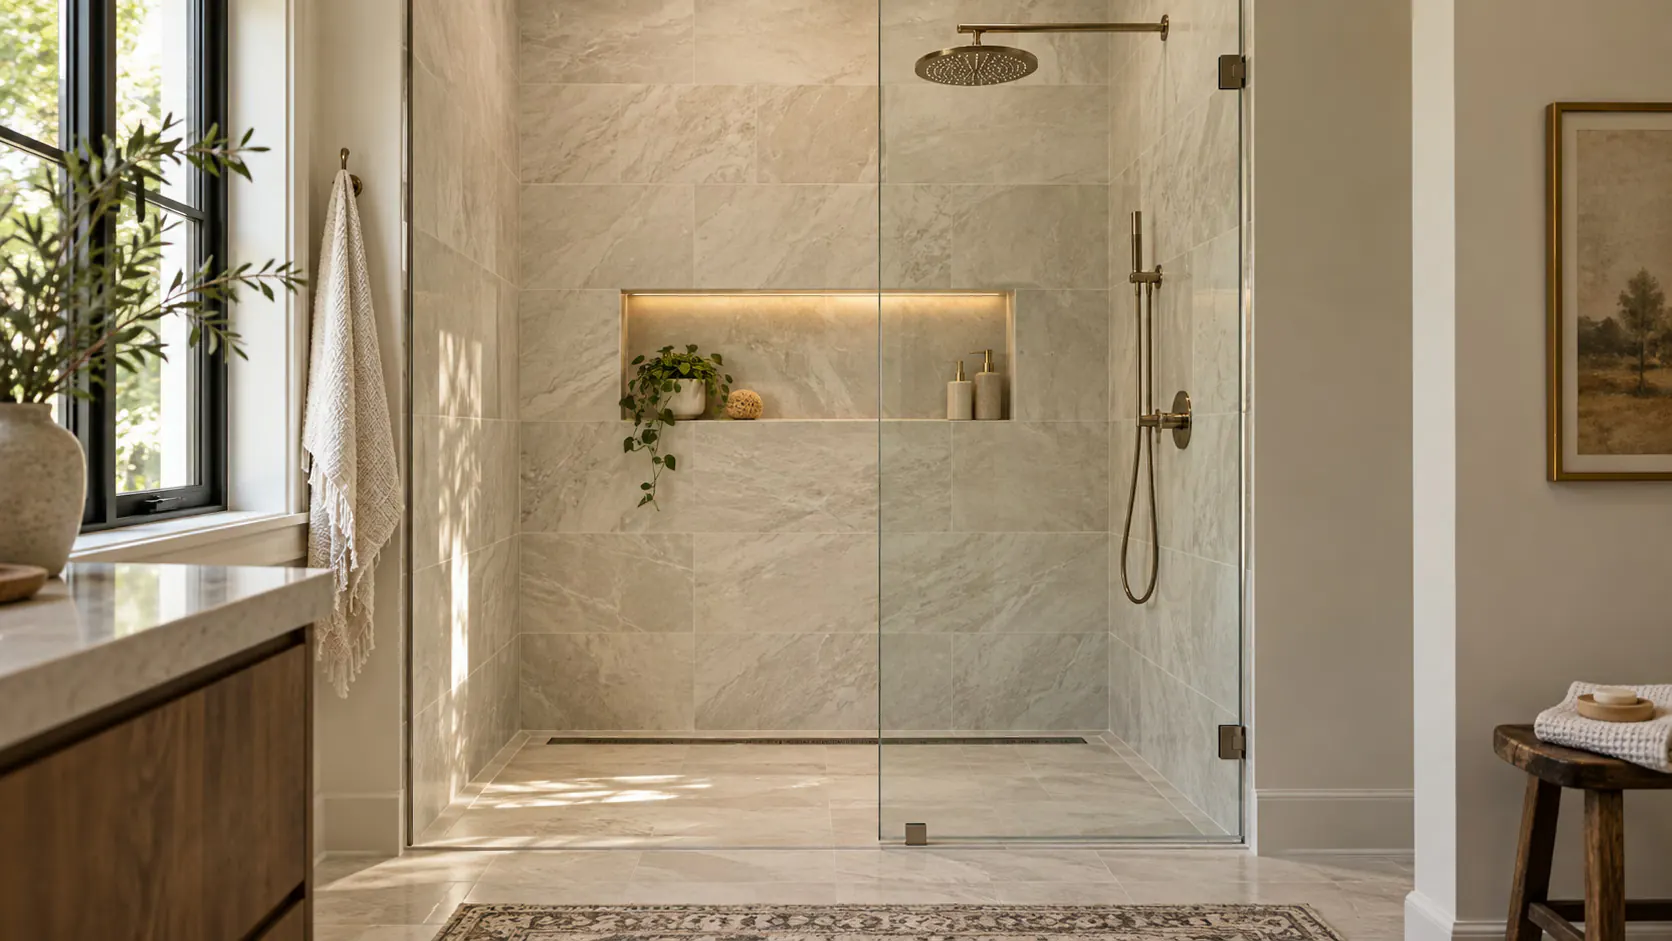
Tile and grout are finish surfaces—not the waterproof system. Learn what must happen behind the tile before a shower is ready for years of use. The right answer depends on the actual rooms, substrate and selected product, not a generic rule.
This shower waterproofing Atlanta guide gives Atlanta homeowners a disciplined way to compare conditions, product instructions, installation scope and long-term care before work begins.
Start with an in-home assessment rather than a sample alone. Impeccable Floors provides professional bathroom tile services in Atlanta, and related planning guidance is available in our Atlanta flooring resource. When the room is measured and the substrate is visible, product recommendations become more specific and estimates become easier to compare.
Shower Waterproofing Atlanta: The Short Answer
A shower needs a continuous approved water-management assembly connected to a compatible drain before tile is installed. This is not a cosmetic technicality: grout joints, corners and penetrations routinely get wet, so the visible surface cannot be the only defense. A useful evaluation therefore considers the room as an assembly, including the finish material, what supports it, the edges and transitions, and the way the household will use the space. For homeowners comparing options, the goal is not to make the project sound complicated; it is to identify the few conditions that change the decision before material is ordered.
During an in-home review, document membrane type, receptor slope, drain integration, curb or curbless entry, niches, benches and penetrations. Photographs, product records and a written history make that conversation more accurate. Conditions that cannot be seen should be labeled as unknown rather than guessed. That distinction lets the owner compare proposals fairly and prevents a low initial number from becoming the only measure of value.
Shower Waterproofing Atlanta: Practical Details to Confirm
The practical next step is to select one complete method and follow its current instructions without mixing incompatible details. Product instructions and site conditions govern the final method, so the written scope should identify who verifies each dependency and when. Attractive tile can conceal a failure until framing or adjacent finishes show damage. A careful sequence gives the installer time to stop, explain a discovery and obtain approval instead of covering it under schedule pressure.
Homeowners can help by asking what evidence supports the recommendation, which current instructions apply, how transitions will be finished and what would trigger a change. That approach produces a plan that is understandable without pretending every concealed condition is predictable. It also creates a better record for future cleaning, repairs or renovation.
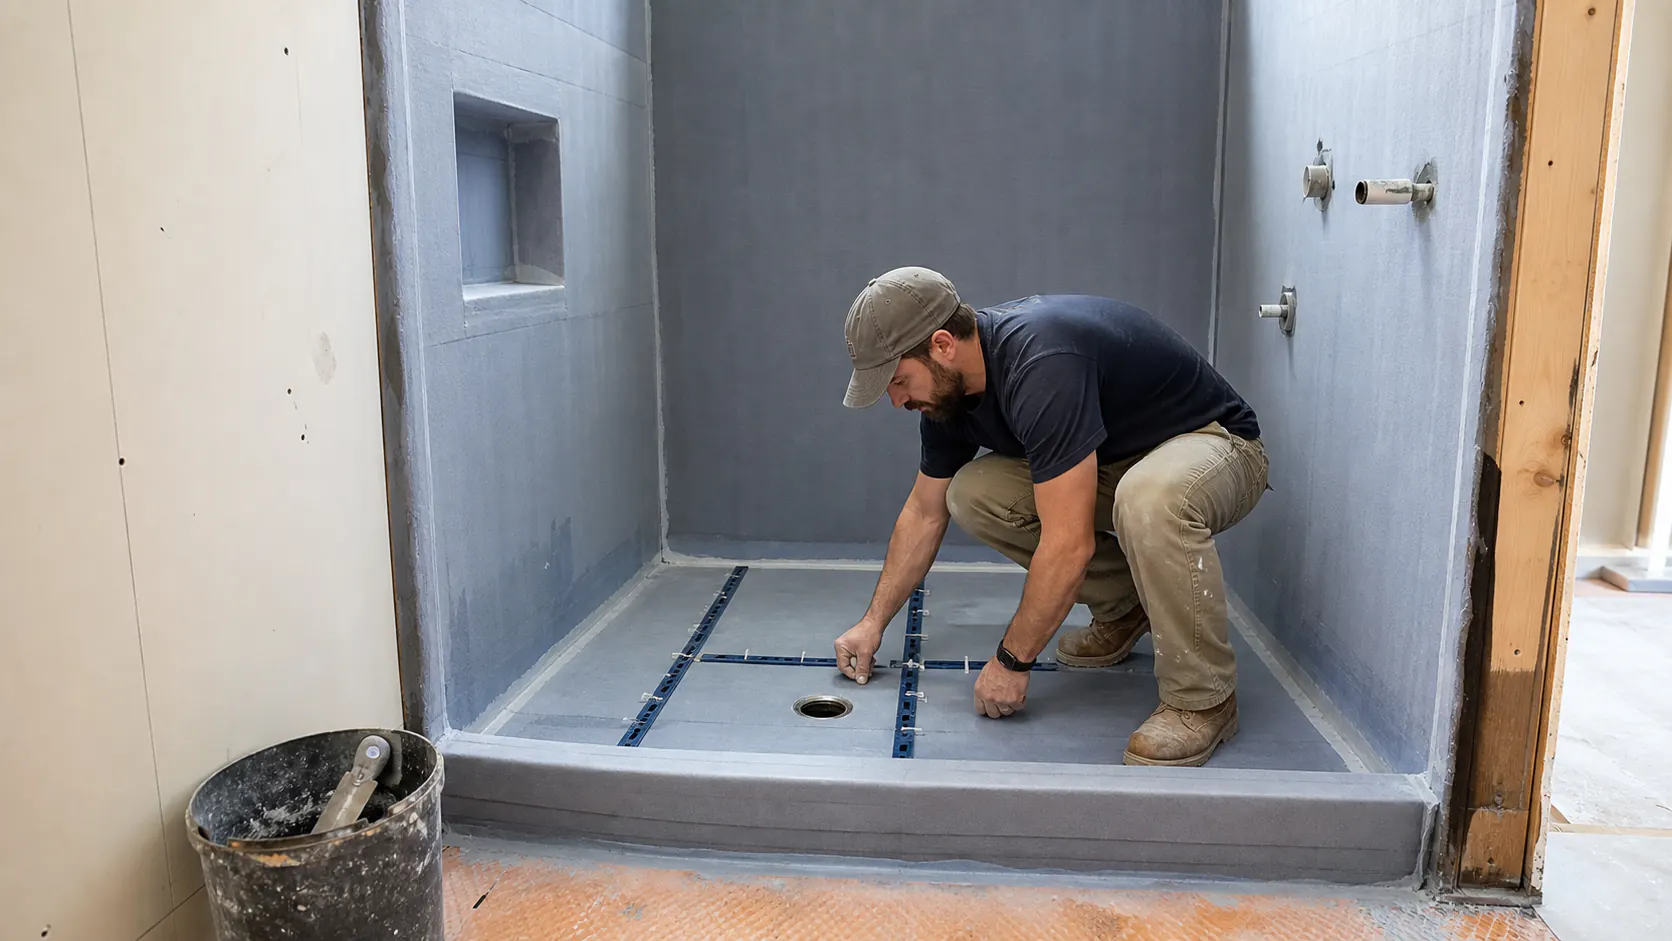
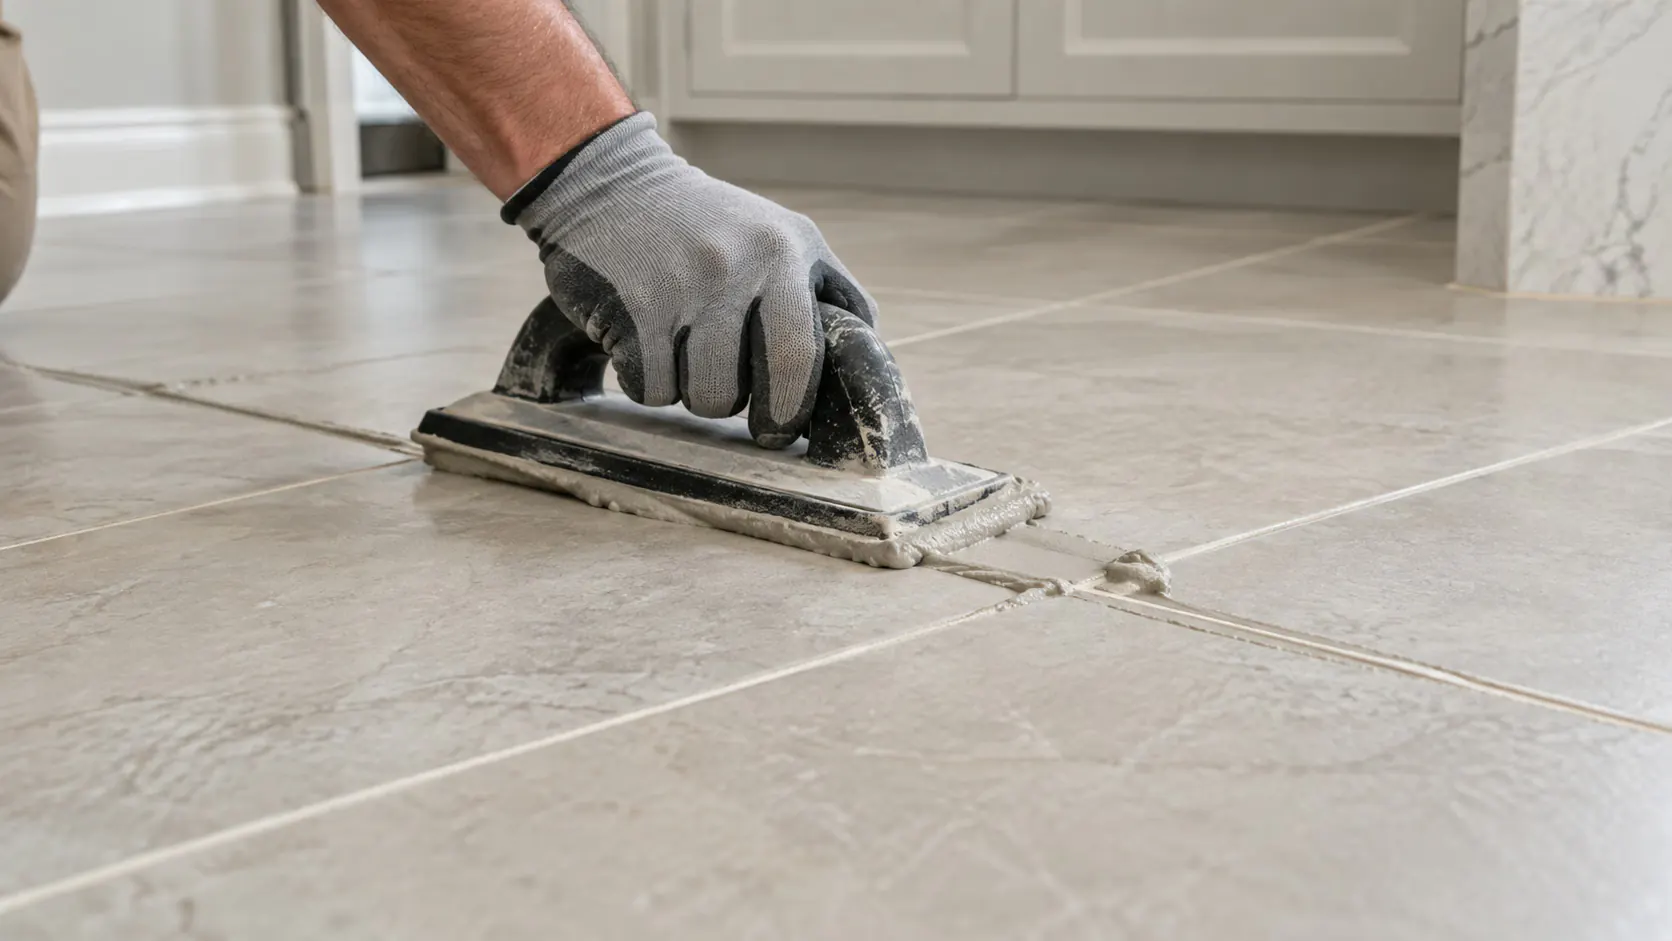
Tile and grout are not the waterproof layer
The central issue is that tile sheds much of the water but moisture can move through joints and transitions. In metro Atlanta, showers experience repeated wetting, temperature change, cleaning and movement. The visible sample is only one part of the installed result. Substrate, moisture, room geometry, fixed objects and daily traffic all influence whether the selected system remains quiet, cleanable and serviceable.
A professional assessment should review grout condition, changes of plane, sealant locations and the assembly behind the finish. The purpose is to separate observations from assumptions. Measurements and product documents should guide the recommendation; marketing shorthand should not. Where conditions are concealed, the proposal can state a reasonable allowance and a clear approval process instead of promising certainty.
Putting It Into Practice: Tile and grout are not the waterproof layer
Use the findings to explain the membrane and drainage path in the written scope. This makes the sequence easier to manage and gives every trade the same target. Selling sealer as waterproofing can distract from missing work behind the tile. If a recommendation changes after demolition, the reason should be visible, documented and connected to the requirements of the final system.
A homeowner does not need to become an installer to ask strong questions. Request the product name, approved location, preparation standard, transition plan and care requirements. Then compare complete scopes. A proposal that explains preparation and limitations is more useful than a price that leaves those decisions for installation day.
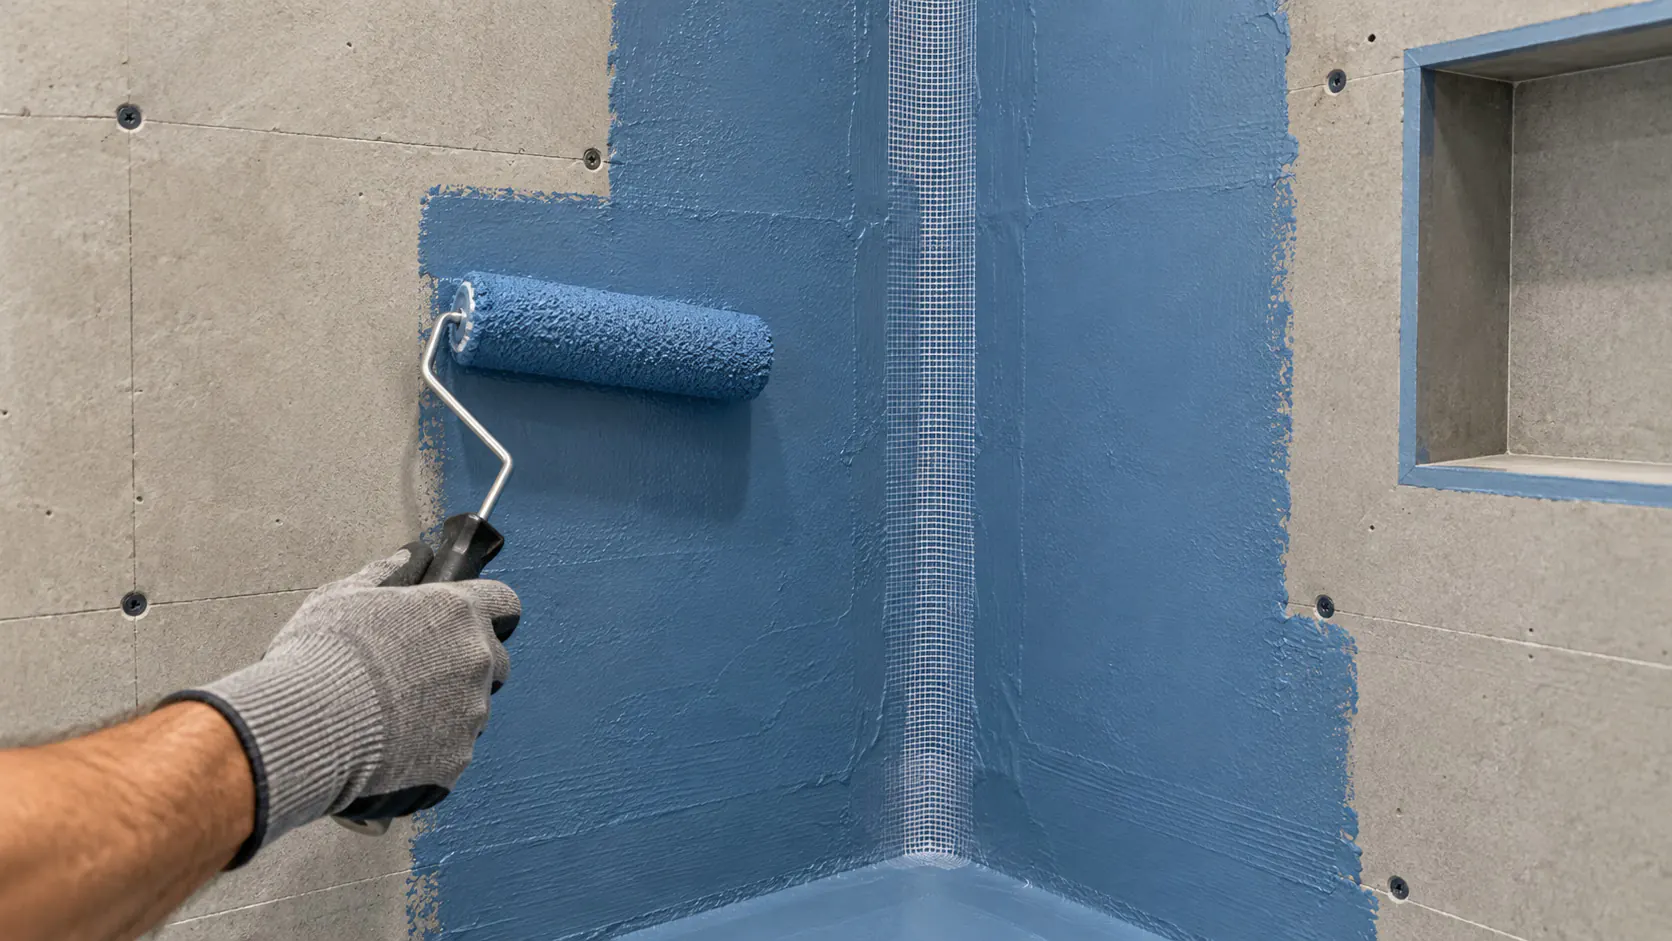
Choosing a recognized waterproofing method
Sheet membranes, liquid-applied systems and other approved assemblies have specific components and thickness requirements. That principle matters because mixing brands or methods can create untested connections at the most vulnerable points. The strongest plan connects technical requirements to the actual household: who uses the room, where water or grit enters, what furniture remains and how the space must function during work.
Before selecting the final approach, inspect substrate approval, primer, reinforcement, overlap, cure, drain and warranty conditions. Record what is measured, what is observed and what remains concealed. This creates a factual baseline for product selection, scheduling and cost. It also reduces the chance that two proposals appear comparable while assigning different responsibilities.
Decision Point for Choosing a recognized waterproofing method Projects
The recommended action is to use a published complete system suited to the shower design. Current manufacturer instructions, recognized methods and local requirements take priority over generic advice. Improvising at corners or drains can defeat an otherwise sound installation. When several methods could work, compare serviceability, disruption and future repair, not only the fastest installation.
Finish the decision with a short written checklist: approved product, substrate or assembly, preparation, transition, moisture strategy, responsible party and completion criteria. That record helps the crew and gives the homeowner a practical reference after the project. Good documentation is part of craftsmanship because it makes the reasoning behind the finished surface clear.
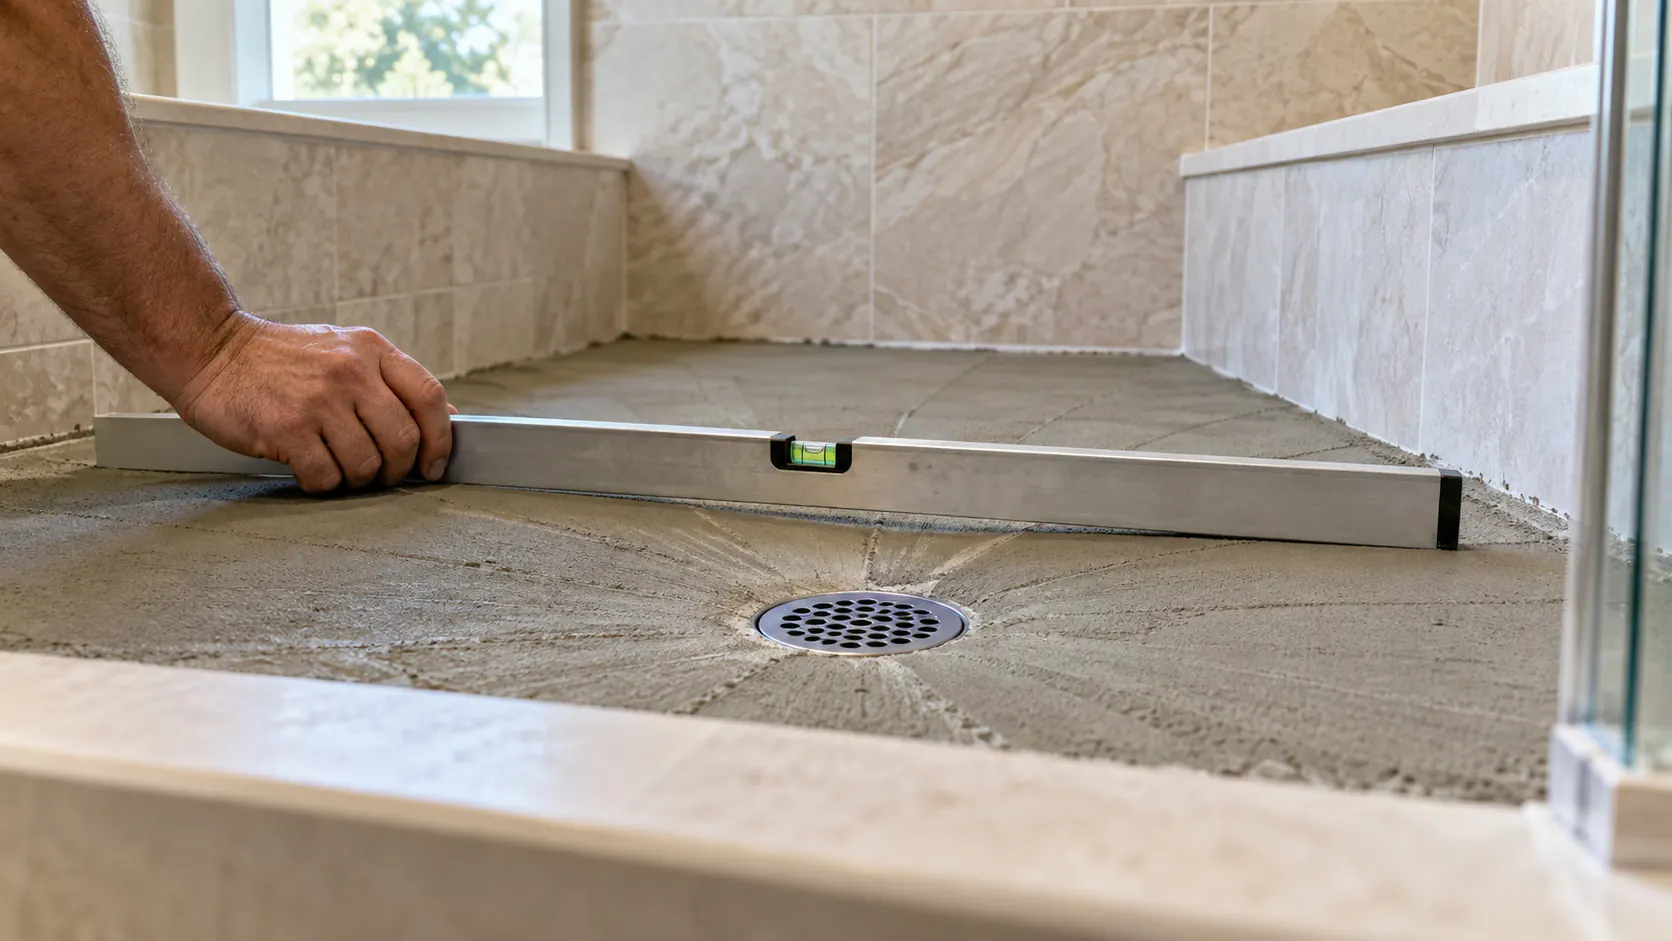
Slope and drain integration
Water must move to the drain at the waterproof plane rather than remain trapped on a flat surface. This is not a cosmetic technicality: large tiles, linear drains and curbless entries make geometry a design decision before framing closes. A useful evaluation therefore considers the room as an assembly, including the finish material, what supports it, the edges and transitions, and the way the household will use the space. For homeowners comparing options, the goal is not to make the project sound complicated; it is to identify the few conditions that change the decision before material is ordered.
During an in-home review, document drain position, receptor slope, tile size, envelope cuts, threshold elevation and joist direction. Photographs, product records and a written history make that conversation more accurate. Conditions that cannot be seen should be labeled as unknown rather than guessed. That distinction lets the owner compare proposals fairly and prevents a low initial number from becoming the only measure of value.
Slope and drain integration: Practical Details to Confirm
The practical next step is to coordinate structure, plumbing, waterproofing and tile layout before construction. Product instructions and site conditions govern the final method, so the written scope should identify who verifies each dependency and when. Moving the drain late can compromise slope, cuts or framing. A careful sequence gives the installer time to stop, explain a discovery and obtain approval instead of covering it under schedule pressure.
Homeowners can help by asking what evidence supports the recommendation, which current instructions apply, how transitions will be finished and what would trigger a change. That approach produces a plan that is understandable without pretending every concealed condition is predictable. It also creates a better record for future cleaning, repairs or renovation.
Curbs and curbless entries
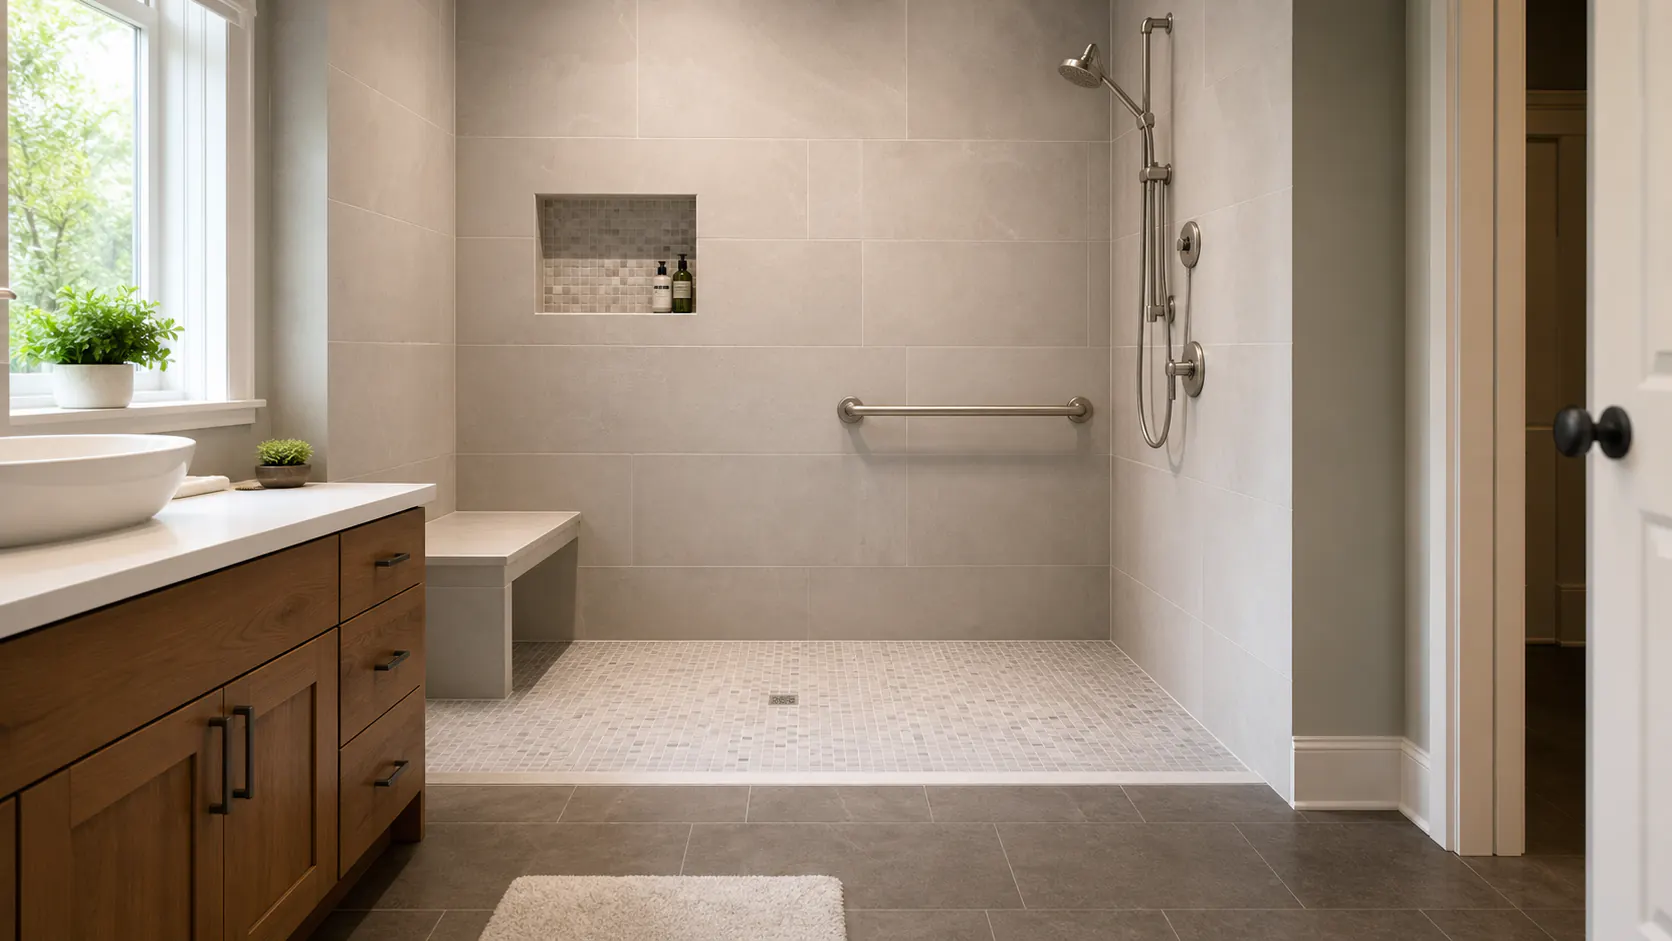
The central issue is that the entry must contain or direct water while meeting access and structural goals. In metro Atlanta, curbless showers need depth and room geometry, not just removal of a curb. The visible sample is only one part of the installed result. Substrate, moisture, room geometry, fixed objects and daily traffic all influence whether the selected system remains quiet, cleanable and serviceable.
A professional assessment should review finished elevations, splash reach, glass, door swing, floor slope and bathroom waterproofing extent. The purpose is to separate observations from assumptions. Measurements and product documents should guide the recommendation; marketing shorthand should not. Where conditions are concealed, the proposal can state a reasonable allowance and a clear approval process instead of promising certainty.
Putting It Into Practice: Curbs and curbless entries
Use the findings to confirm feasibility before demolition and detail every transition. This makes the sequence easier to manage and gives every trade the same target. Forcing a curbless design into insufficient depth can create poor slope or raised bathroom floors. If a recommendation changes after demolition, the reason should be visible, documented and connected to the requirements of the final system.
A homeowner does not need to become an installer to ask strong questions. Request the product name, approved location, preparation standard, transition plan and care requirements. Then compare complete scopes. A proposal that explains preparation and limitations is more useful than a price that leaves those decisions for installation day.
Niches, benches and penetrations
Every opening interrupts the field membrane and needs complete integration. That principle matters because horizontal surfaces and plumbing penetrations collect water and are common weak points. The strongest plan connects technical requirements to the actual household: who uses the room, where water or grit enters, what furniture remains and how the space must function during work.
Before selecting the final approach, inspect niche slope, bench top, valve openings, shower arms, fasteners and glass attachment plan. Record what is measured, what is observed and what remains concealed. This creates a factual baseline for product selection, scheduling and cost. It also reduces the chance that two proposals appear comparable while assigning different responsibilities.
Decision Point for Niches, benches and penetrations Projects
The recommended action is to minimize penetrations and waterproof them before tile hides access. Current manufacturer instructions, recognized methods and local requirements take priority over generic advice. Drilling through finished waterproofing without a coordinated detail can create a direct leak path. When several methods could work, compare serviceability, disruption and future repair, not only the fastest installation.
Finish the decision with a short written checklist: approved product, substrate or assembly, preparation, transition, moisture strategy, responsible party and completion criteria. That record helps the crew and gives the homeowner a practical reference after the project. Good documentation is part of craftsmanship because it makes the reasoning behind the finished surface clear.
Substrate readiness before membrane
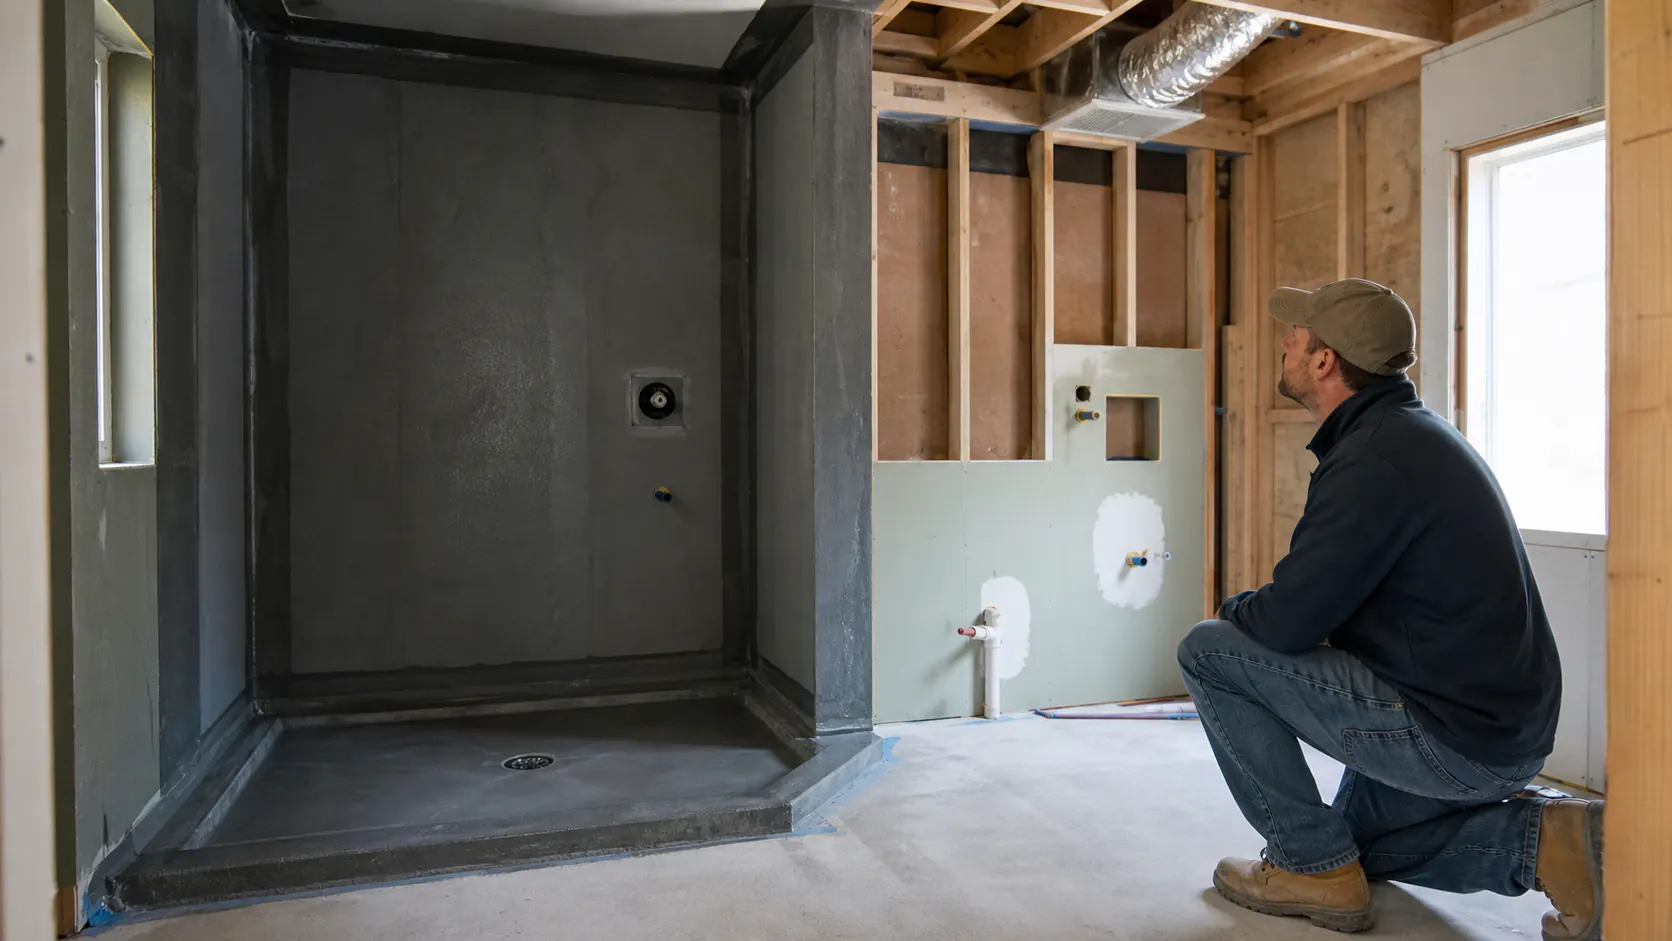
Waterproofing performs only over a stable, approved and properly prepared base. This is not a cosmetic technicality: movement, dust, voids or incorrect board can affect bond and continuity. A useful evaluation therefore considers the room as an assembly, including the finish material, what supports it, the edges and transitions, and the way the household will use the space. For homeowners comparing options, the goal is not to make the project sound complicated; it is to identify the few conditions that change the decision before material is ordered.
During an in-home review, document panel attachment, seams, plane, cleanliness, cure and manufacturer-approved substrate. Photographs, product records and a written history make that conversation more accurate. Conditions that cannot be seen should be labeled as unknown rather than guessed. That distinction lets the owner compare proposals fairly and prevents a low initial number from becoming the only measure of value.
Substrate readiness before membrane: Practical Details to Confirm
The practical next step is to complete corrections and document readiness before membrane application. Product instructions and site conditions govern the final method, so the written scope should identify who verifies each dependency and when. Using membrane to bridge structural movement or unsuitable surfaces is not a durable repair. A careful sequence gives the installer time to stop, explain a discovery and obtain approval instead of covering it under schedule pressure.
Homeowners can help by asking what evidence supports the recommendation, which current instructions apply, how transitions will be finished and what would trigger a change. That approach produces a plan that is understandable without pretending every concealed condition is predictable. It also creates a better record for future cleaning, repairs or renovation.
Testing and inspection before tile
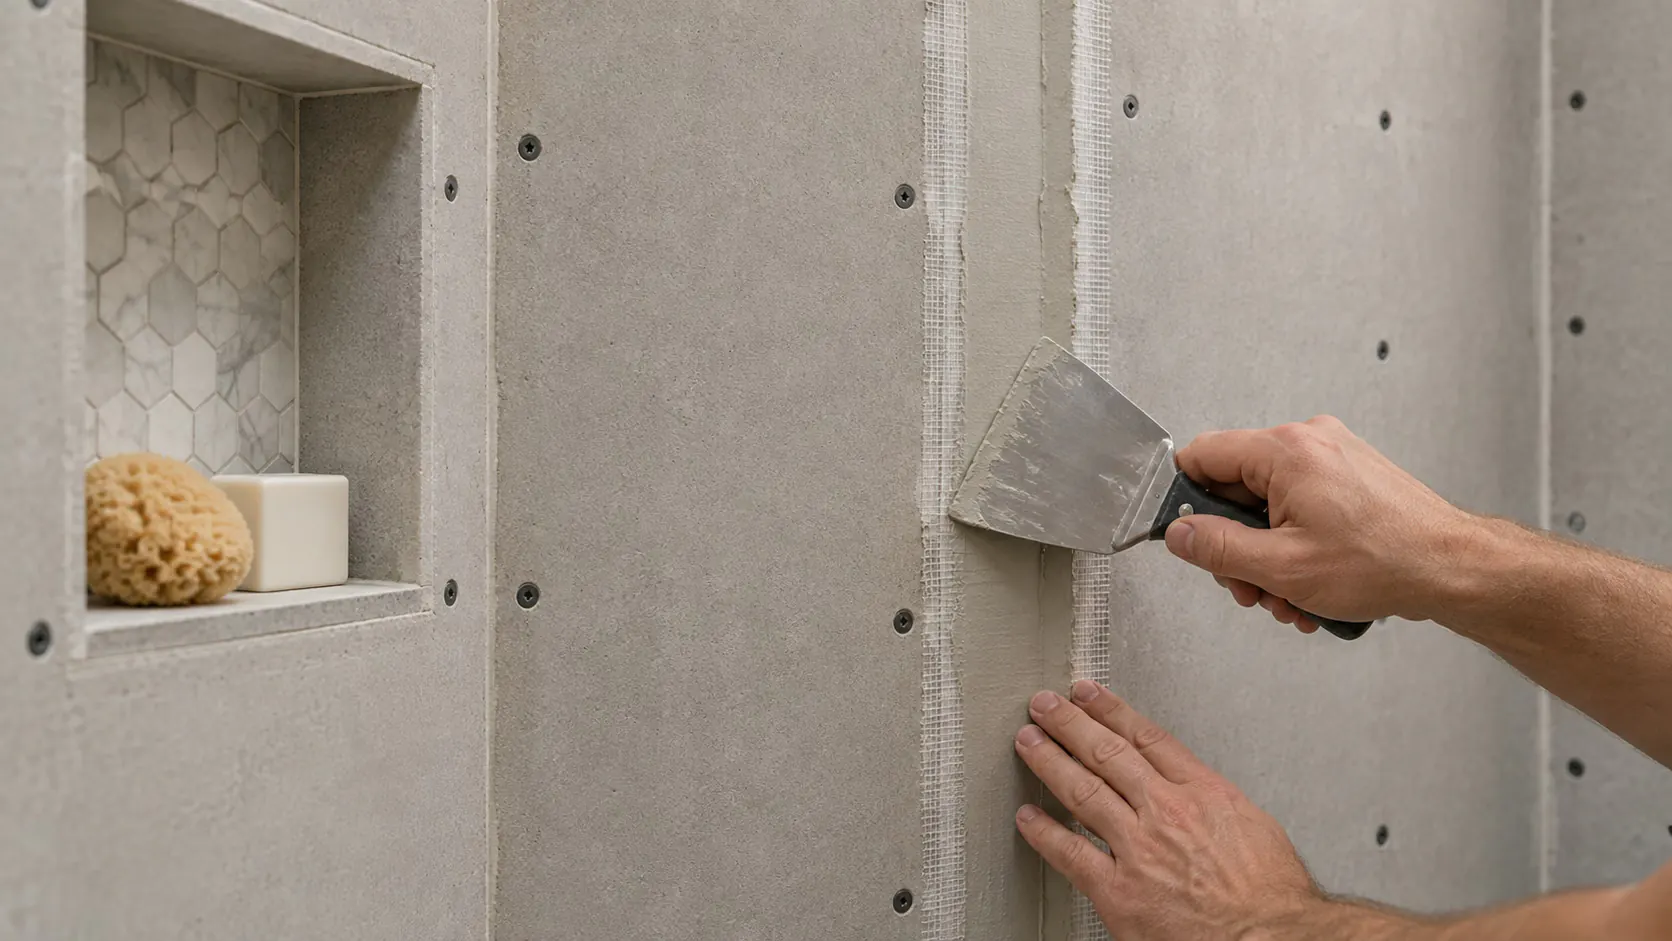
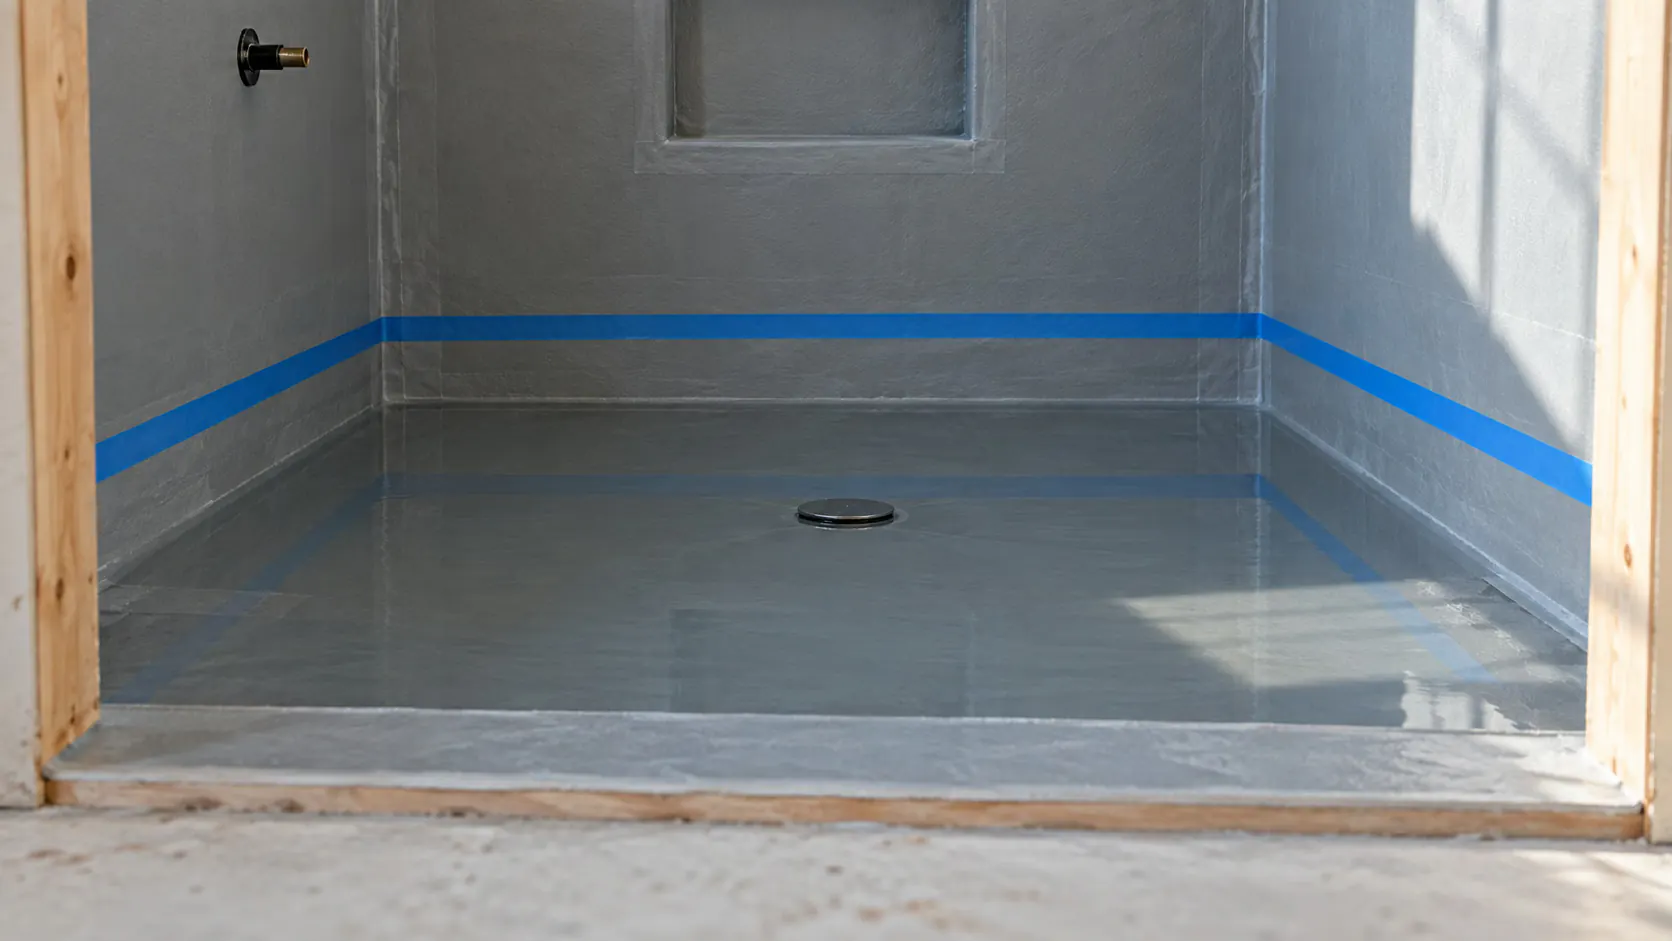
The central issue is that the best time to find a waterproofing defect is while the membrane remains visible and repairable. In metro Atlanta, once tile begins, investigation becomes slower and destructive. The visible sample is only one part of the installed result. Substrate, moisture, room geometry, fixed objects and daily traffic all influence whether the selected system remains quiet, cleanable and serviceable.
A professional assessment should review continuous coverage, seams, corners, drain, penetrations, cure and any required flood test or inspection. The purpose is to separate observations from assumptions. Measurements and product documents should guide the recommendation; marketing shorthand should not. Where conditions are concealed, the proposal can state a reasonable allowance and a clear approval process instead of promising certainty.
Putting It Into Practice: Testing and inspection before tile
Use the findings to follow system and jurisdiction requirements and record the assembly before covering it. This makes the sequence easier to manage and gives every trade the same target. Skipping required cure or testing can hide small defects under expensive finishes. If a recommendation changes after demolition, the reason should be visible, documented and connected to the requirements of the final system.
A homeowner does not need to become an installer to ask strong questions. Request the product name, approved location, preparation standard, transition plan and care requirements. Then compare complete scopes. A proposal that explains preparation and limitations is more useful than a price that leaves those decisions for installation day.
Ventilation and the room outside the shower
Water management includes vapor and humidity after the shower stops running. That principle matters because Atlanta humidity and frequent bathing can keep a bathroom damp without effective exhaust. The strongest plan connects technical requirements to the actual household: who uses the room, where water or grit enters, what furniture remains and how the space must function during work.
Before selecting the final approach, inspect fan capacity, duct route outdoors, controls, makeup air and drying pattern. Record what is measured, what is observed and what remains concealed. This creates a factual baseline for product selection, scheduling and cost. It also reduces the chance that two proposals appear comparable while assigning different responsibilities.
Decision Point for Ventilation and the room outside the shower Projects
The recommended action is to coordinate ventilation with the remodel rather than treating it as a decorative fixture. Current manufacturer instructions, recognized methods and local requirements take priority over generic advice. A waterproof shower does not prevent condensation on walls, ceilings or cabinets. When several methods could work, compare serviceability, disruption and future repair, not only the fastest installation.
Finish the decision with a short written checklist: approved product, substrate or assembly, preparation, transition, moisture strategy, responsible party and completion criteria. That record helps the crew and gives the homeowner a practical reference after the project. Good documentation is part of craftsmanship because it makes the reasoning behind the finished surface clear.
A homeowner waterproofing checklist
The contract should identify the assembly instead of using only the word waterproof. This is not a cosmetic technicality: clear documentation helps homeowners compare proposals that otherwise look similar. A useful evaluation therefore considers the room as an assembly, including the finish material, what supports it, the edges and transitions, and the way the household will use the space. For homeowners comparing options, the goal is not to make the project sound complicated; it is to identify the few conditions that change the decision before material is ordered.
During an in-home review, document method, substrate, drain, slope, niches, curb, penetrations, test, ventilation and responsible trades. Photographs, product records and a written history make that conversation more accurate. Conditions that cannot be seen should be labeled as unknown rather than guessed. That distinction lets the owner compare proposals fairly and prevents a low initial number from becoming the only measure of value.
A homeowner waterproofing checklist: Practical Details to Confirm
The practical next step is to ask for product names and sequence before approving tile layout. Product instructions and site conditions govern the final method, so the written scope should identify who verifies each dependency and when. A low proposal may omit invisible work that matters more than the tile price. A careful sequence gives the installer time to stop, explain a discovery and obtain approval instead of covering it under schedule pressure.
Homeowners can help by asking what evidence supports the recommendation, which current instructions apply, how transitions will be finished and what would trigger a change. That approach produces a plan that is understandable without pretending every concealed condition is predictable. It also creates a better record for future cleaning, repairs or renovation.
Frequently Asked Questions About shower waterproofing Atlanta
Does grout waterproof a shower?
No. Grout and tile are finish surfaces. The approved membrane, slope, drain connection and sealed penetrations manage water.
Is cement board waterproof?
Product properties vary, but a complete shower still needs the approved water-management details required by the selected assembly.
Should a shower be flood tested?
Follow the waterproofing manufacturer, plumbing requirements and local inspection rules. Testing is performed before tile when required.
Can a curbless shower work in any bathroom?
No. Structure, depth, slope, drain location and room geometry determine feasibility.
Do niches need slope and waterproofing?
Yes. Niches interrupt the wall and their horizontal surfaces and corners require complete approved detailing.
Can different waterproofing brands be mixed?
Only when manufacturers explicitly approve the combination. One documented system creates clearer compatibility and responsibility.
Does bathroom ventilation replace waterproofing?
No. Ventilation manages airborne moisture; waterproofing manages liquid water in the shower assembly. Both matter.
Updated July 27, 2026. Verify current product instructions, site conditions and jurisdiction requirements for the actual property.
Editorial references: Review the Tile Council of North America installation handbook and EPA moisture-control guidance. These official resources provide context; the selected product instructions and project conditions control the final installation.