
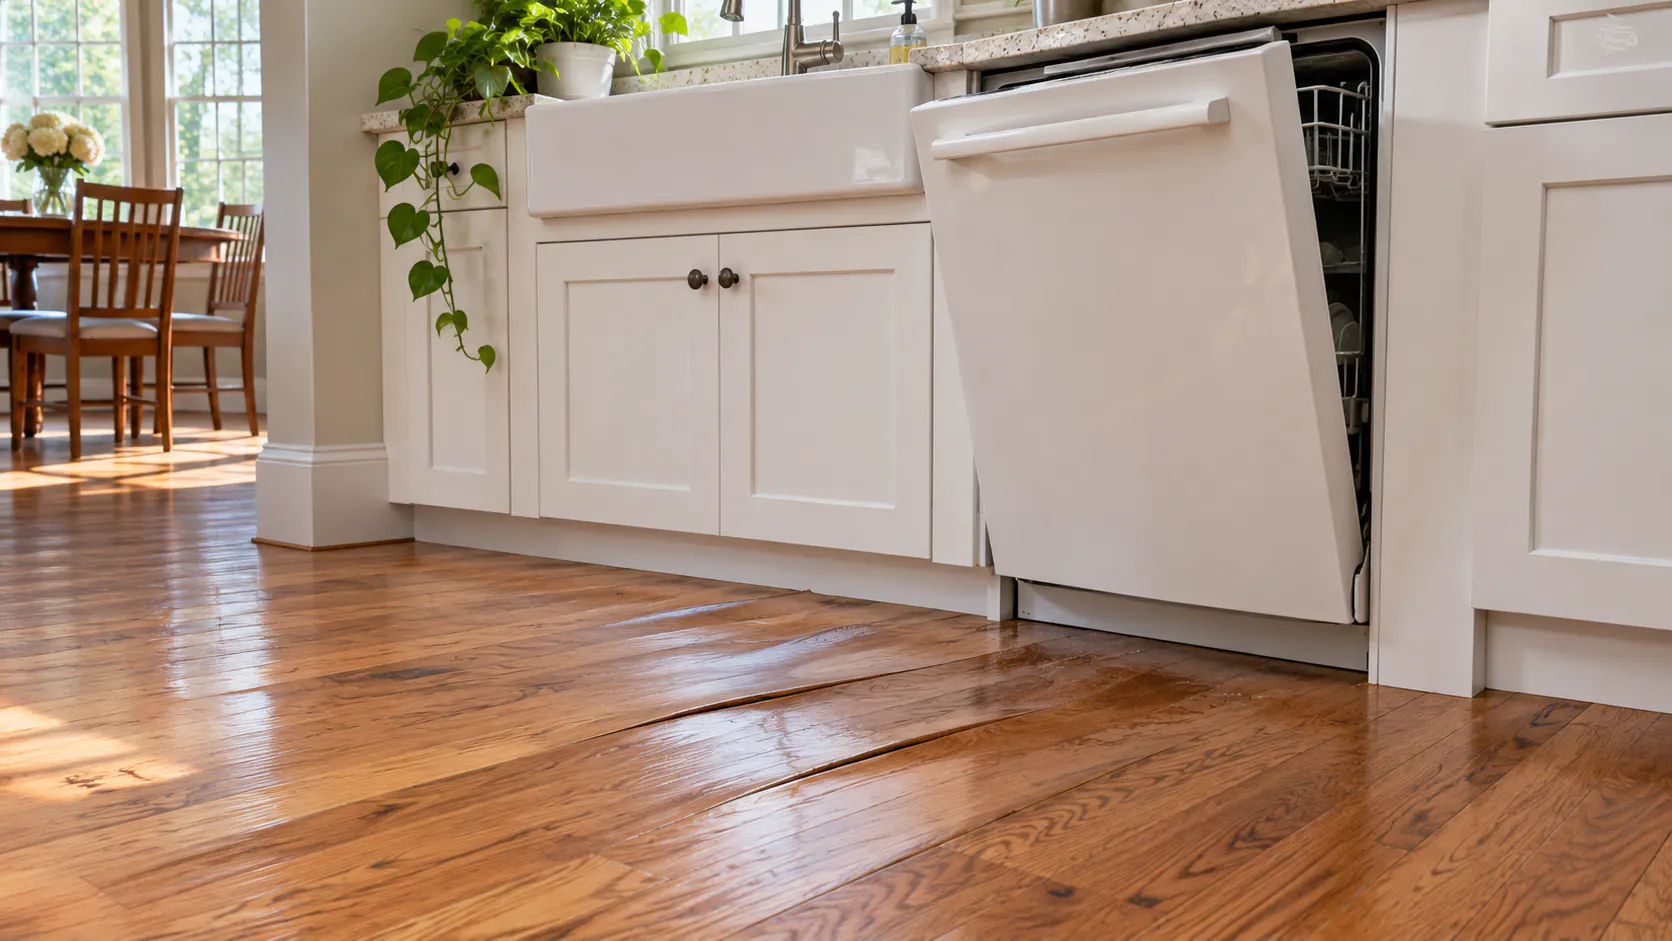
A leak under a dishwasher or a storm-soaked window can turn a flat oak floor into a field of raised edges within days. Whether those boards can be saved depends on what you do first, how completely the wood and subfloor dry, and what is hiding underneath.
With water damaged hardwood floors in Atlanta homes, the decision usually comes down to one question: dry and repair, or remove and replace. This guide covers first steps, warning signs, safe drying and repairs that hold up in a humid climate.
Water Damaged Hardwood Floors Atlanta: The Short Answer
Many water-damaged hardwood floors can be repaired rather than replaced if the leak is stopped fast and the wood and subfloor dry completely before anyone sands, nails or refinishes. Replacement makes sense when boards stay buckled, turn black, delaminate or sit on a soft, rotted or moldy subfloor.
The most expensive mistake after a leak is rushing. Cupped boards that look ruined often flatten noticeably as the wood dries, while a floor sanded flat too early can dry out with the center of every board higher than its edges.
The second mistake is judging only the surface. Atlanta houses add a twist: many older intown homes sit over crawl spaces, and many newer suburban builds sit on concrete slabs. Water that reaches the subfloor, the crawl space or the underlayment under a floating floor can keep feeding the boards long after the puddle is gone.
Extraction, structural drying and mold remediation belong to a water restoration company; this guide covers the flooring side.
The First Hours and Days After a Leak
What happens in the first hours often decides whether you pay for a few boards or a whole room. Stop wherever the situation goes beyond what you can safely handle.
Stop the water and make the area safe
Close the shutoff valve at the fixture if you can reach it; most dishwashers, refrigerators, toilets and sinks have one nearby. If not, close the main shutoff, which in Atlanta homes may sit in a crawl space, basement, garage or a box near the street. Find it before you ever need it.
If water has reached outlets, cords, appliances or the area around the electrical panel, do not wade through it. Turn off power to the wet area at the breaker only if you can reach the panel while standing somewhere dry; otherwise, call the power company or a licensed electrician.
Remove water and start moving air
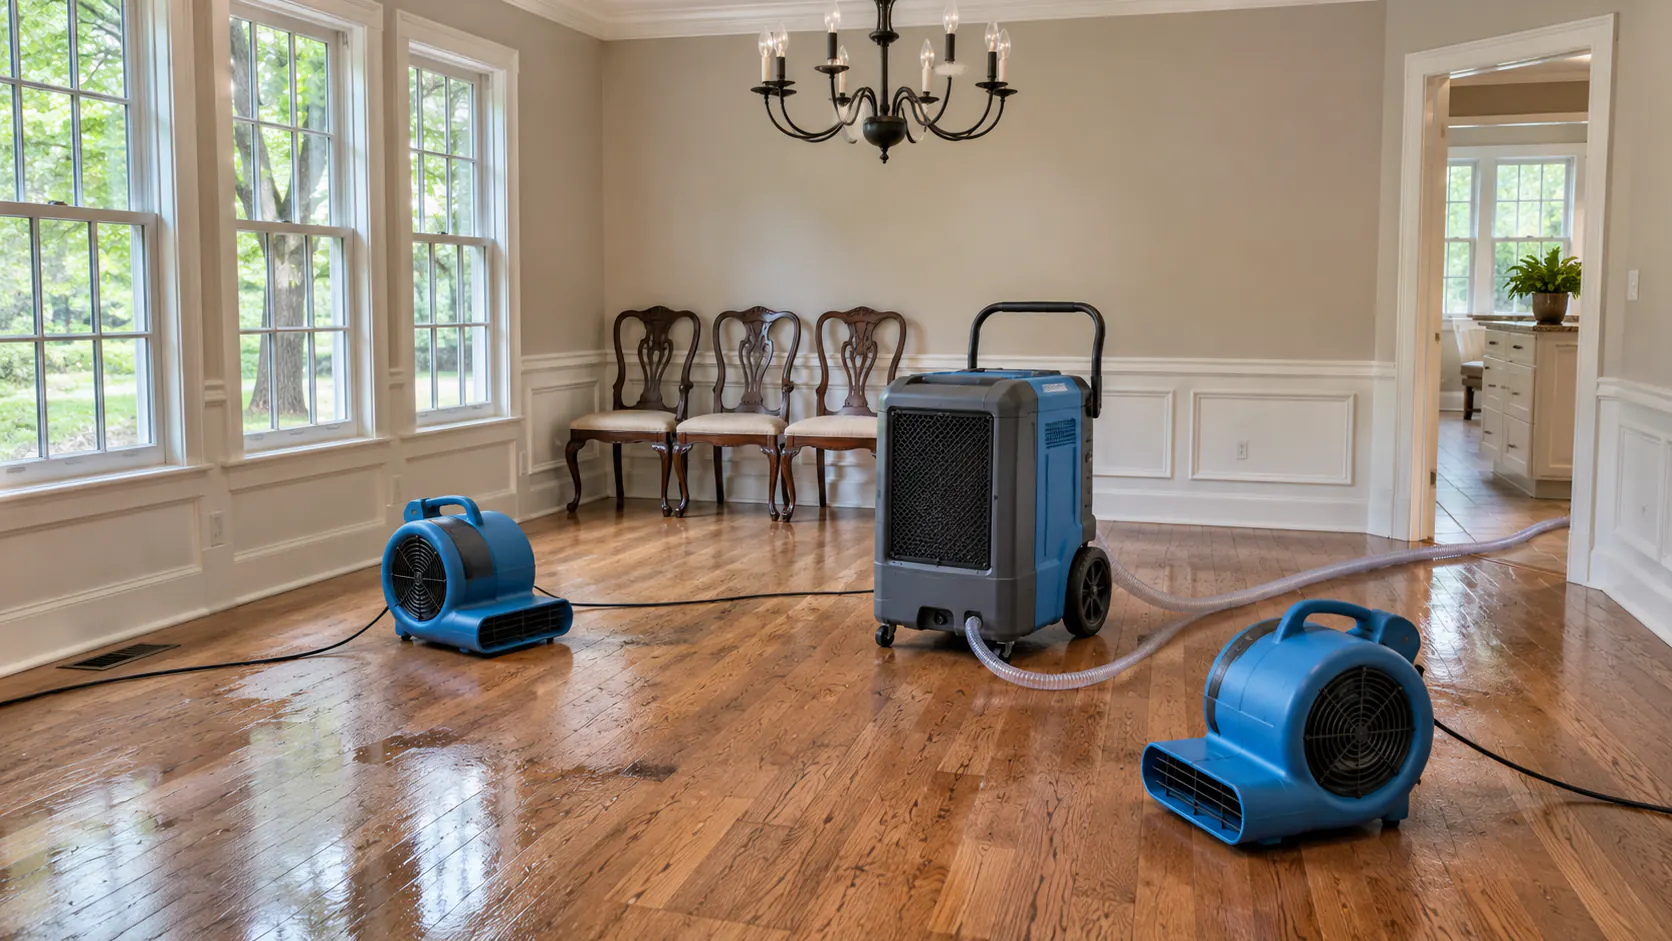
Pick up standing water right away with towels, mops or a wet vacuum, and pull wet rugs and furniture off the floor. Run the air conditioning to pull moisture from the air, and point fans across the surface rather than straight down at one spot.
For anything beyond a small spill, a water restoration company can bring commercial dehumidifiers, air movers and sometimes drying mats that draw moisture out of the boards. The EPA advises drying water-damaged materials within 24 to 48 hours to help prevent mold, so that call should not wait. Skip space heaters and heat guns, which dry the top of a board faster than the bottom and can crack the wood.
Document everything for an insurance claim
Photograph and video the floor before cleanup, during drying and afterward: the source, the edges of the wet area and the cupping seen at a low angle. Keep failed parts, equipment receipts and notes with dates and calls.
Contact your insurer or agent early. Policies often treat a sudden pipe or appliance failure differently from a slow leak or outside flooding, and many expect the homeowner to limit further damage. This is general information, not insurance or legal advice; your policy and adjuster decide what is covered.
What not to do while the floor is wet
Do not sand, screen, nail or glue anything, fill the gaps or hammer raised boards back down. Each of those either locks in a problem that might have corrected itself or hides one that has not.
Reading the Damage: Cupping, Crowning and Buckling
Board shape tells you where the water came from and how long it stayed. Look across the floor at a low angle with a flashlight lying on the floor; raking light shows shape that ceiling lights hide.
Cupping: edges higher than centers
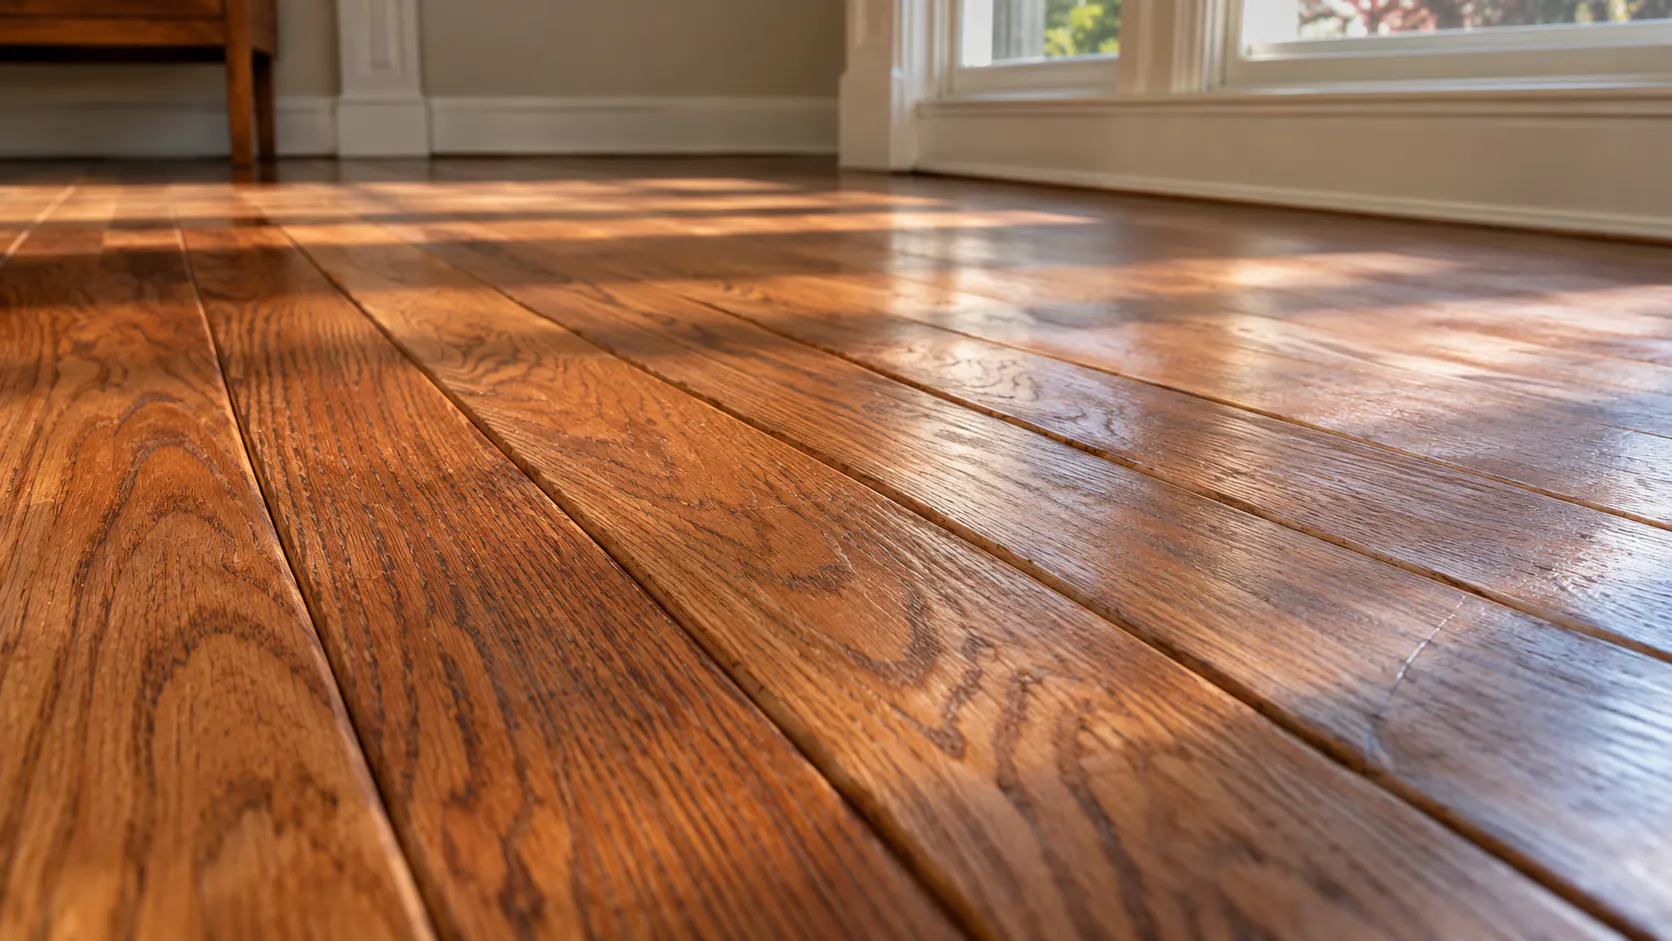
Cupping hardwood floors are the most common result of a leak. The underside of each board has taken on more moisture than the top, so the bottom swells and the edges rise. A leak, a damp crawl space or slab moisture usually sits behind it, and mild cupping often relaxes as the floor dries.
Crowning: centers higher than edges
Crowning is the reverse. It usually appears when a cupped floor was sanded flat before it dried, so each board ends up humped once its edges shrink back. Water left standing on the finish for a long time can cause it too.
Buckling: boards lifting off the subfloor
A buckled hardwood floor is the extreme case. Boards swell so much that they push against each other, the walls and the cabinets until they lift off the subfloor. Buckling usually follows heavy saturation from a burst line or flooding, and fasteners have often pulled loose.
Gaps, stains, white haze and soft spots
After drying, gaps can open wider than before because swollen boards crushed their own edges, a condition called compression set. Gray or black stains come from water reacting with tannins in oak and iron from fasteners, or from pet urine, and often run deeper than sanding reaches. A milky white haze usually means moisture trapped in the finish. A spongy feel or musty smell points below the boards.
| Symptom | Likely cause | Typical next step |
|---|---|---|
| Cupping (raised edges) | More moisture below the boards than above | Fix the source, dry, track readings; no sanding yet |
| Crowning (raised centers) | Sanded while cupped, or water left on top | Wait for stable readings, then sand or replace |
| Buckling or lifting | Heavy saturation with no room to swell | Remove affected boards; inspect subfloor and fasteners |
| Wider gaps after drying | Compression set from swelling | Monitor through a season; replace or refinish |
| Gray or black stains | Tannin and iron reaction, or pet urine | Board replacement is often needed |
| Milky white finish | Moisture trapped in or under the finish | Screen and recoat or refinish once dry |
| Soft spots, musty odor | Wet or decayed subfloor, possible mold | Open the floor; get a professional assessment |
Not sure whether your floor can be saved?
Once the leak is fixed, we can read the boards and moisture levels and walk you through repair and replacement options.
Request a Free In-Home Estimate →Why Sanding Cupped Boards Too Early Backfires
A cupped board is wet, not ruined
A cupped board is not bent like a nail; it is wetter on the bottom than on the top. As that difference closes, the board tends to flatten, sometimes almost completely and sometimes leaving a slight permanent cup. In the first week, nobody can reliably tell which.
Sanding a cupped floor flat while it is still wet removes wood from the raised edges. When the boards finish drying and the edges shrink back, they sit lower than the centers, and the floor is crowned. Fixing that takes another sanding, which uses up wood a solid floor has only so much of and a thin engineered wear layer may not have at all.
Moisture meters and what normal means
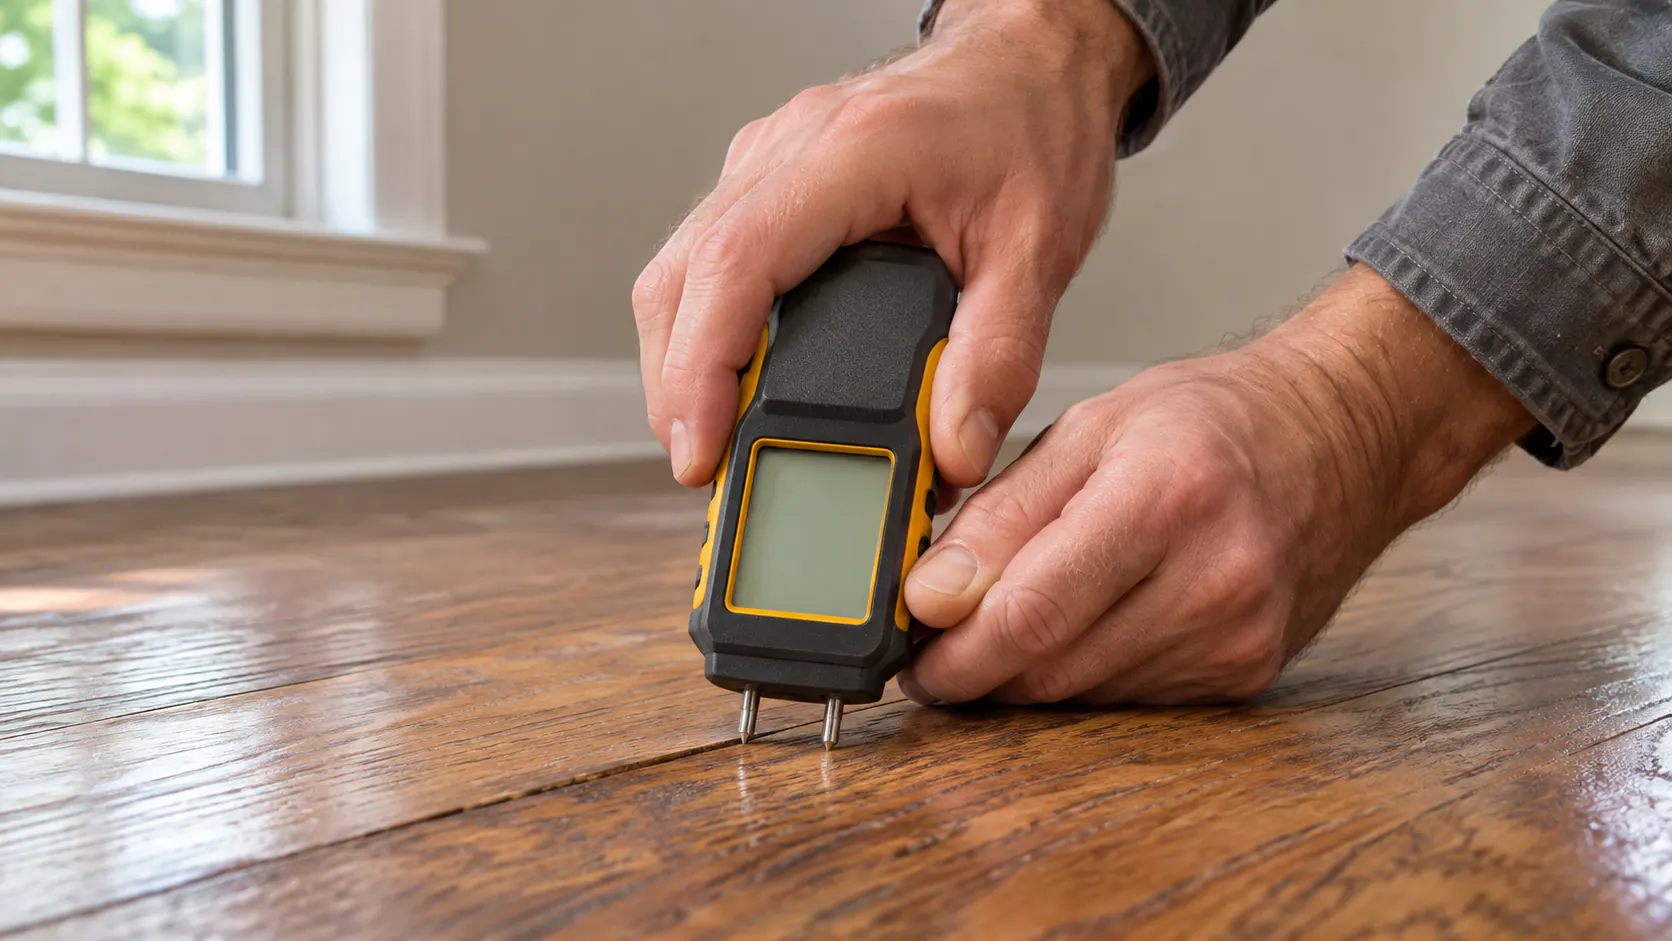
Instead of guessing, a professional measures. Pin meters push two small pins into the wood; pinless meters scan a shallow depth without marking the board. Readings are taken in the wet area, in an unaffected part of the same floor and on the subfloor, from below when there is crawl space access.
The goal is agreement, not a magic number. The damaged area should read close to the unaffected floor, and the wood and subfloor should fall within the range the manufacturer and industry guidelines call for before any sanding, nailing or reinstallation.
How long drying usually takes
Drying often takes several days to a few weeks, sometimes longer. It depends on how long the water sat, how much reached the subfloor, species and board width, crawl space or slab, and the weather. After readings settle, waiting a little longer lets the floor adjust to normal indoor conditions. For the bigger picture, see when to refinish hardwood floors in general.
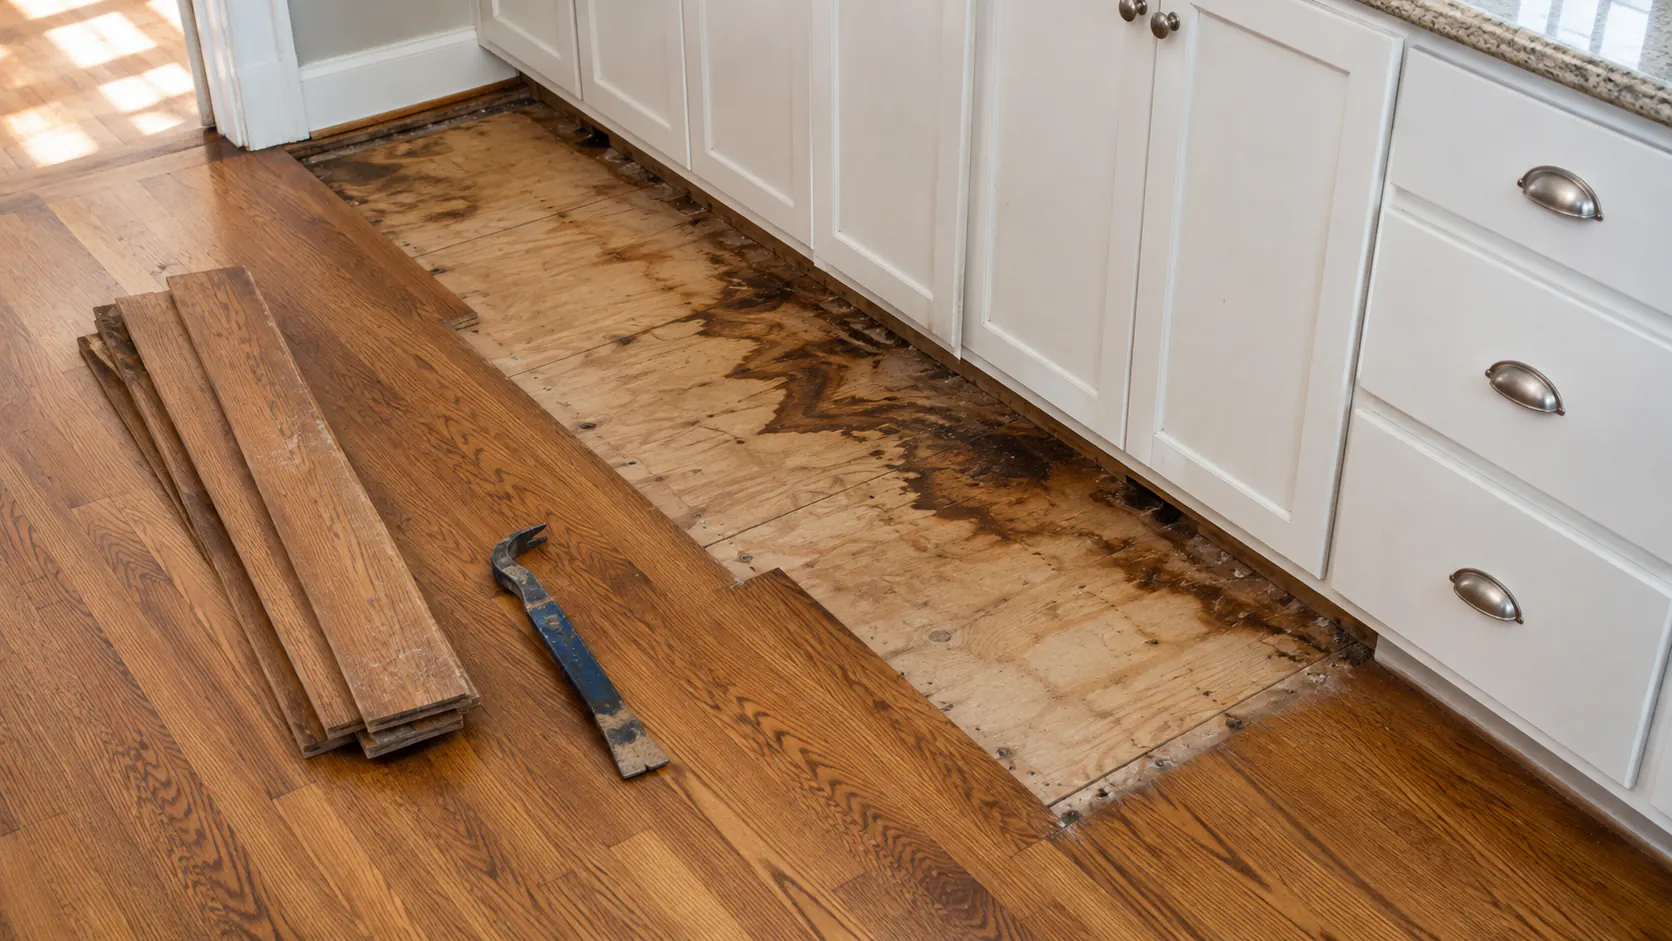
Where Leaks Usually Start in Atlanta Homes
Most water damage to hardwood floors in Atlanta homes traces back to a short list of sources, and knowing them helps you find a leak faster.
Kitchen appliances and sinks
Dishwashers leak from supply lines, drain hoses and worn door seals, often slowly and out of sight behind the toe kick. Refrigerator ice-maker lines, especially thin plastic tubing, can crack or pull loose when the refrigerator is moved. Sink supply lines and disposals round out the list.
Water heaters and HVAC condensate lines
Water heaters eventually leak at the tank or fittings, and one in an interior closet can soak the floor beside it. Air conditioners pull a lot of water out of humid Georgia air, and a clogged condensate line or rusted pan under an attic or closet air handler can overflow into the rooms below, usually in midsummer.
Bathrooms, storms and slow sources
Toilet and vanity supply lines or a leaking shower curb can reach hardwood in the hall next door. Summer thunderstorms test roofs, flashing and window seals, and those leaks show up as dark, cupped boards at the threshold. Other damage builds slowly: a humid crawl space, gutters dumping water onto red clay beside the foundation, slab moisture or repeated pet accidents in one spot.
Repair or Replace: Your Main Options
Once the source is fixed and the floor has dried, most water damaged hardwood floors we see in Atlanta land between a quick fix and a full tear-out. The right way to repair water damaged hardwood depends on board shape, staining, subfloor condition and how the floor was built.
Dry, monitor and wait
If boards settle to a slight, even cup with an intact finish and no staining, the best repair may be none for now. Watch the floor through a change of season; mild cupping that remains can often be sanded out later.
Board replacement and weaving
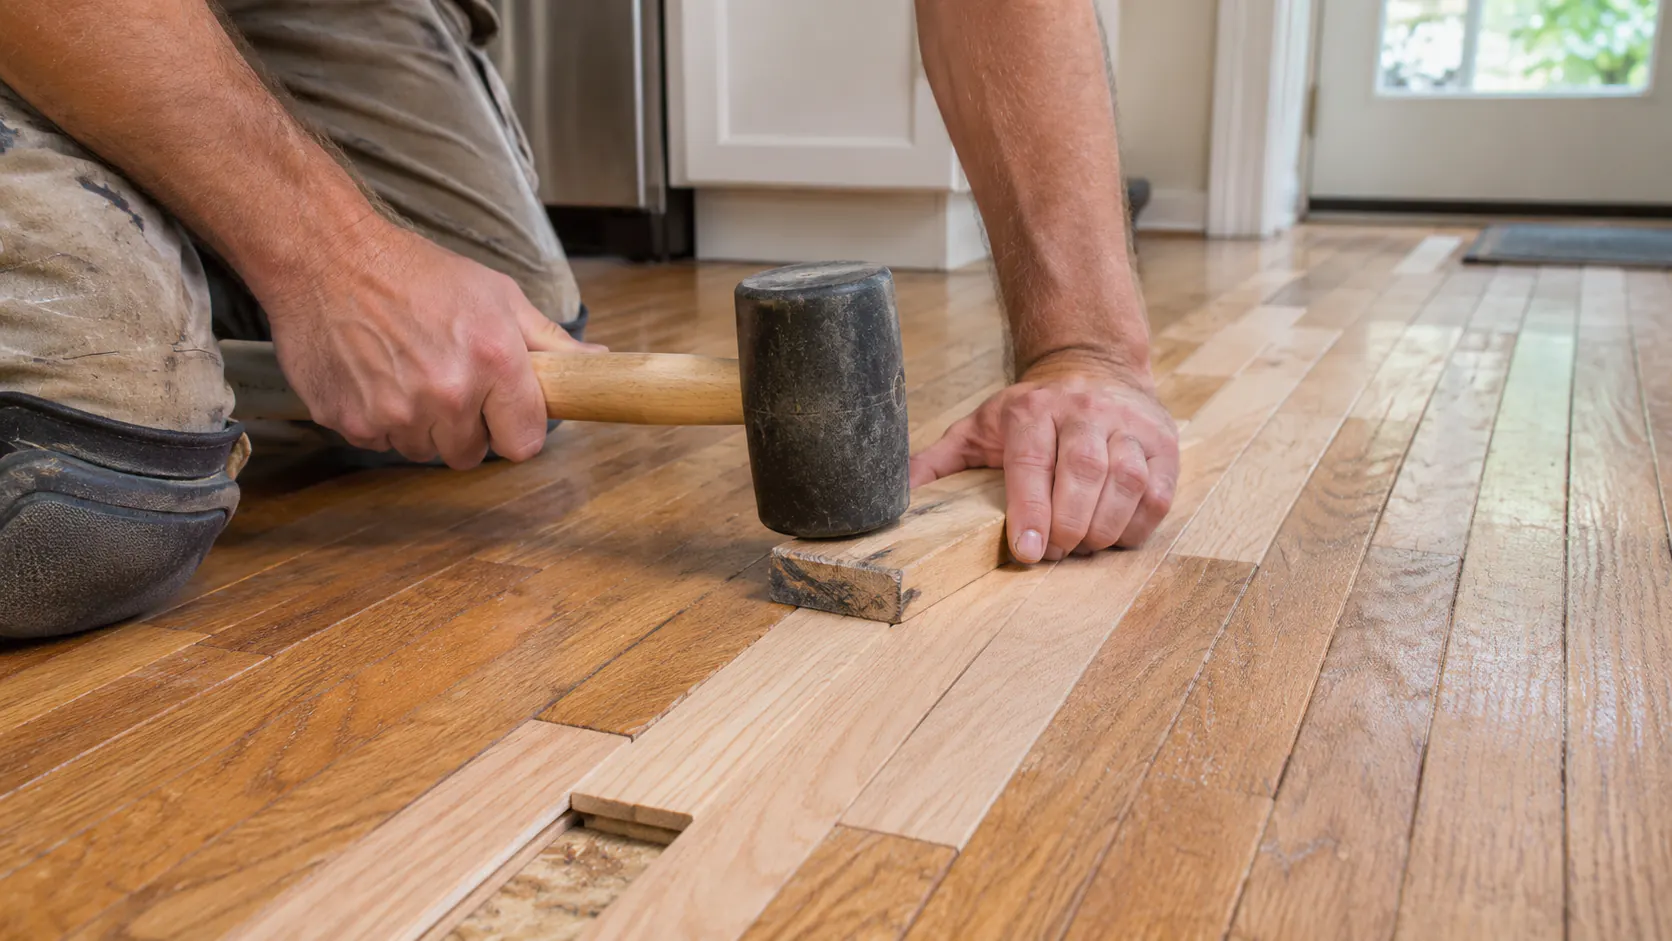
When damage is limited to a few rows near a dishwasher, sink or door, an experienced installer cuts out the damaged boards and weaves in new ones, staggering the ends so the repair does not form a straight seam. The new boards must match species, width, thickness and cut, and the last ones are fitted by trimming the bottom of the groove and gluing or face-nailing them. This is the classic hardwood floor leak repair for kitchens.
Sand and refinish once dry
Site-finished solid floors with leftover cupping, a white haze or light gray staining are often sanded and refinished after readings are stable. The refinish usually runs to a doorway or across the whole connected area, because a patch of fresh finish mid-room tends to show. Our hardwood floor refinishing service handles board repairs and refinishing as one job.
Partial or full replacement
Replacement makes sense when boards stay buckled, delaminate, show black stains through their thickness or sit on a subfloor that has to be replaced. It is also the practical answer when a discontinued prefinished product cannot be matched. If you are replacing anyway, the guide to the best flooring for Atlanta's climate compares materials, and professional hardwood installation covers a matching new floor.
Solid versus engineered after a leak
Solid hardwood is more forgiving: it can often dry in place and be sanded more than once. Engineered hardwood handles normal humidity swings better, but a soaked board can separate between layers or lose its glue bond to a slab, and its wear layer may be too thin to sand out cupping, so repairs lean toward board replacement. The comparison of engineered vs solid hardwood explains why.
Matching color after the repair
New boards rarely match on day one. Older oak has mellowed with light and time, and the same species from a different mill can take stain differently. On site-finished floors, the reliable approach is to sand the new boards with the surrounding floor and stain everything at once; on prefinished floors, leftover boards from the original job match best. The guide to hardwood stain colors helps if you are choosing a new tone.
Get a repair plan, not just a patch
When the floor is dry, we can check the boards and subfloor and price board repair, refinishing or replacement side by side during a free in-home estimate.
Get My Free Estimate →Mold Cautions After a Leak
Mold needs moisture and time, and a wet subfloor in a warm house provides both. Warning signs include a musty smell that lingers after drying, dark spotting on the underside of removed boards or on the subfloor, and stains on crawl space framing. Do not cover suspected growth with new flooring, paint or caulk.
EPA guidance on mold and moisture is a practical starting point: fix the water problem, dry materials promptly and discard porous materials that cannot be cleaned. EPA suggests homeowners can often handle a moldy area smaller than about 10 square feet, points to more extensive guidance for larger growth or heavy water damage, and recommends an experienced professional when sewage or other contaminated water is involved. Anyone with health concerns should talk to a health professional before cleanup.
Restoration firms generally work to IICRC standards, which also sort water by contamination level, so a clean supply line is handled differently from a toilet overflow. Flooring repair should wait until any remediation is finished.
How to Prevent the Next Leak
Most leaks that ruin hardwood are slow, hidden and preventable. A few habits catch them while they are still a towel-sized problem.
- Place leak sensors under the kitchen sink, behind the refrigerator and dishwasher, and beside the water heater and air handler; some models also shut the water off automatically.
- Check dishwasher, ice-maker, toilet and sink supply lines once a year, and replace cracked or brittle plastic lines with braided stainless steel connectors.
- Have your HVAC technician clear the condensate drain and check the pan and float switch each spring, before the humid season.
- Look in the crawl space after heavy storms, and correct grading, gutters, a torn vapor barrier or standing water early.
- Keep indoor humidity steady year-round within the range your flooring manufacturer specifies.
- Use washable, breathable mats at the sink and dishwasher instead of rubber-backed ones, and wipe up spills and pet accidents right away.
Everyday care matters too. Wet mops, steam mops and harsh cleaners wear the finish and push moisture into the seams; our flooring maintenance guide covers a routine that keeps the finish sealed. If the leak happened below grade, think twice before putting wood back; the guide to LVP basement flooring explains when a water-resistant floor makes more sense.
A Repair-or-Replace Checklist
Before you approve any repair, get clear answers to these questions:
- Has the source been found and fixed, not just the visible puddle?
- Was the water clean, gray or contaminated?
- What do moisture readings show in the damaged area, an unaffected area and the subfloor?
- Have those readings held steady over repeated checks?
- Is the floor solid or engineered, and how much wood remains above the tongue or in the wear layer?
- Are the boards cupped, crowned, buckled, stained or delaminated?
- Has anyone checked the subfloor, crawl space or slab for hidden water and mold?
- Can matching boards be found, and where will the refinish stop?
- What has the insurance adjuster documented, and what do they need before work starts?
A good contractor answers these with readings and photos, not opinions. If several answers are still unknown, keep drying and wait; that patience often separates the floors that can be saved from the ones that must be replaced.
Ready to put the floor back together?
Once the water is fixed and the floor has dried, schedule a free in-home estimate for board weaving, refinishing or a new hardwood floor.
Request My Free Estimate →
Frequently asked questions
Can water damaged hardwood floors be saved?
Often, yes, if the leak is stopped quickly and the wood and subfloor dry completely. Black staining, delamination, lasting buckling or a rotted subfloor usually push the decision toward replacement.
How long should I wait before sanding cupped hardwood floors?
Wait until moisture readings in the damaged area match an unaffected part of the floor and stay stable, not a set number of days. Depending on the subfloor, the weather and how long the water sat, that often takes weeks rather than days.
Will cupped boards flatten on their own?
Mild cupping often relaxes as the bottom of each board dries to match the top. Some boards keep a slight permanent cup, which can usually be sanded out once readings have stabilized.
Does homeowners insurance cover water damaged hardwood?
It depends on your policy and the cause. Sudden appliance or pipe failures, slow leaks and outside flooding are often treated differently, so document the damage, call your insurer or agent early and ask what they need before repairs begin.
Can a contractor replace only the damaged boards?
Yes, when the damage is limited to a defined area. New boards are woven in with staggered ends, and on site-finished floors the area is usually refinished with the surrounding floor so the color blends.
Is engineered hardwood harder to repair after a leak?
Often it is. Soaked engineered boards can separate between layers or lose their glue bond, and thin wear layers may not tolerate sanding, so replacing the affected boards is more common than with solid hardwood.
How do I know if there is mold under my hardwood floor?
A musty smell that lingers after drying, soft spots, or dark growth on the subfloor or crawl space framing are warning signs. Follow EPA guidance, and bring in an experienced remediation professional for larger areas or contaminated water before any flooring repair.
Published and reviewed November 10, 2026. This guide is general information, not insurance, legal or mold-remediation advice; moisture readings, product instructions and site conditions control every repair.
Editorial references: The EPA brief guide to mold, moisture and your home covers prompt drying, cleanup and when to bring in professionals; the IICRC standards page lists the industry standards restoration firms use for water damage and mold remediation; and the National Wood Flooring Association homeowner care guidance explains everyday wood floor care. These resources provide context; product instructions and site conditions control the final work.