
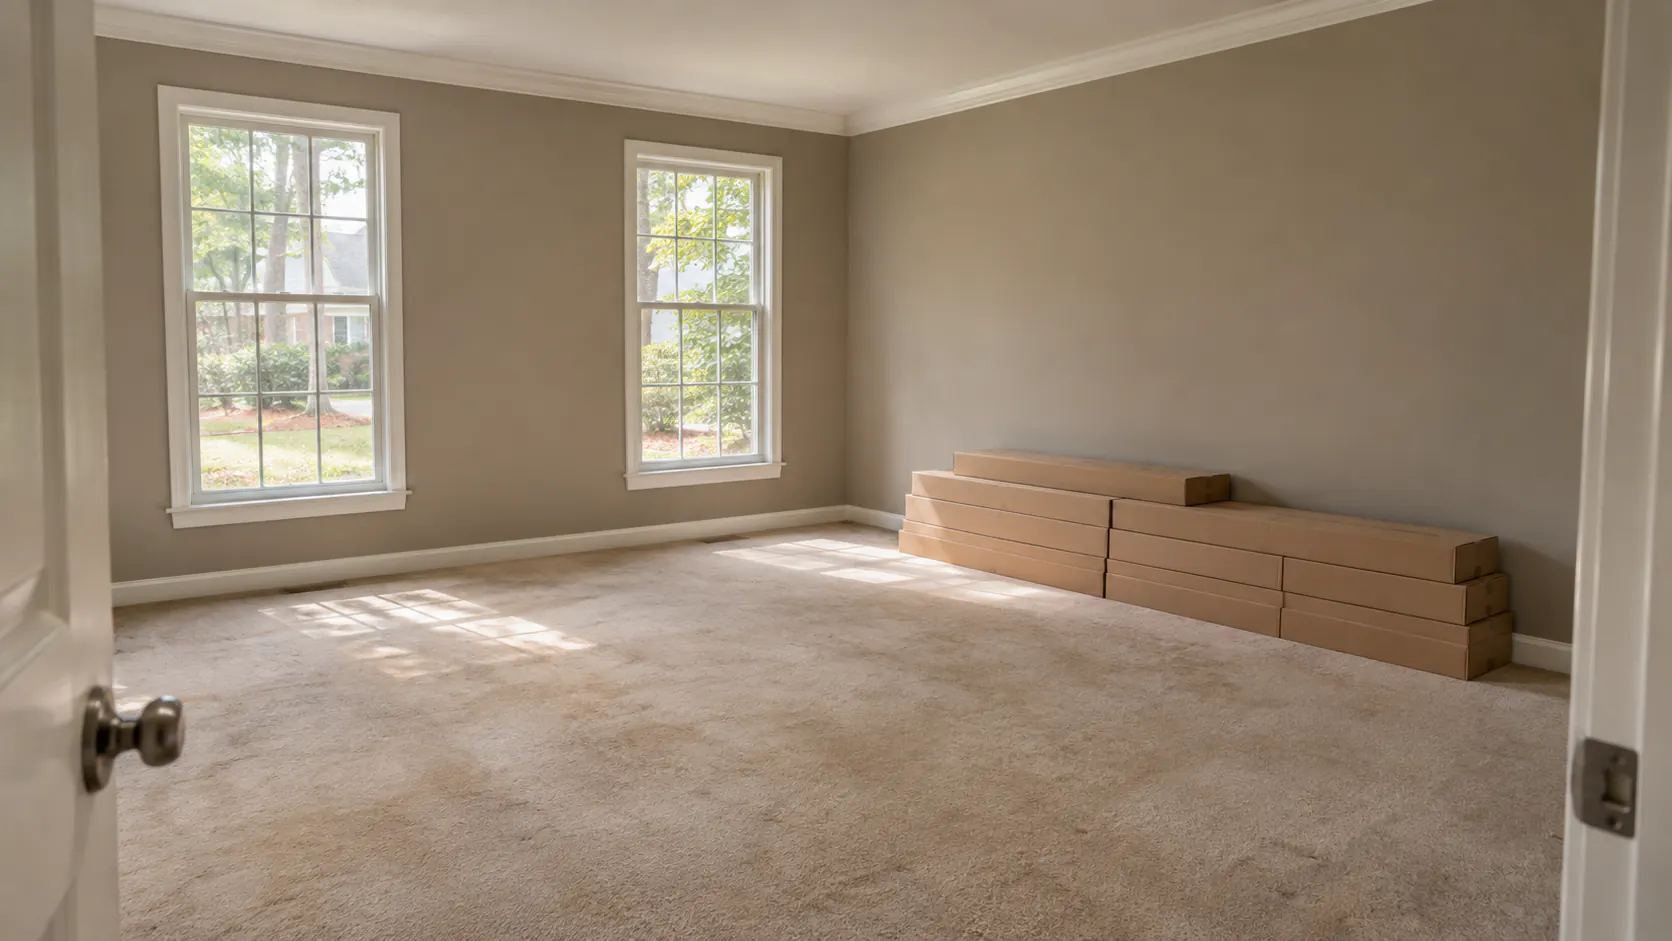
New floors go in faster and turn out better when the house is ready before the crew pulls into the driveway. Most installation-day delays trace back to small things nobody settled earlier: an undecided transition, a dresser still full of clothes, an ice maker line no one shut off, or a dog with nowhere to go.
This guide lays out how to prepare for flooring installation in an Atlanta home, for hardwood, LVP, laminate, tile or carpet, from the final decisions weeks ahead to the first week living on the new floor.
Prepare for Flooring Installation Atlanta: The Short Answer
Prepare for a flooring installation by confirming every decision in your written estimate, clearing the rooms completely and keeping the house at normal living temperature and humidity. Then arrange access, a plan for kids and pets, and the first week of care the new floor needs. The material changes the details, not the order.
Preparation happens in three layers. Weeks ahead, you are making decisions and booking logistics. In the final days, you are emptying rooms and protecting what stays. On installation day and the week after, your job shifts to access, safety and patience while adhesives, finishes and the floor itself settle in.
Knowing how to prepare for new floors also protects the price you were quoted. Every estimate rests on assumptions: rooms emptied to an agreed point, a subfloor in expected condition, working HVAC, somewhere to park. When those assumptions fail, crews wait, schedules slip and change orders appear. Our guide to what drives flooring installation cost in Atlanta shows where preparation, removal and furniture handling enter a quote.
The steps below apply to hardwood, luxury vinyl plank, laminate, tile and carpet. Where a material changes the answer, such as acclimation or cure time, the section says so, and the manufacturer's written instructions always outrank a general rule.
Final Decisions to Make Before Material Is Ordered
Flooring is ordered after final measurements, and many products are special-order items. Changing course after the order ships can mean restocking charges, a new lead time or material from a different production lot that does not quite match.
Product, color and layout
Confirm the exact product line, color, plank width or tile size, and the installation pattern. Herringbone, diagonal tile and mixed-width plank all change waste and labor. View a large sample in the actual room in morning and evening light, next to the cabinets, stone and trim that are staying. If you are still torn between materials, our flooring quiz can narrow the field before anything is ordered.
Transitions, stairs and trim
Ask where the new floor will meet everything else: kitchen tile, bedroom carpet, a sliding door threshold, the top of the stairs. Each meeting point needs a transition strip, a reducer or a height solution, and some look cleaner than others. Decide whether stairs are part of the job and whether treads and nosings will match the main floor. Then settle the trim plan: existing baseboards staying with new shoe molding, baseboards removed and reinstalled, or new baseboards installed and painted.
Put the who-does-what in writing
The written estimate should say who moves furniture, who disconnects and reconnects appliances, who removes and hauls away the old floor, how subfloor repairs are handled if needed, and who caulks and paints trim afterward. Verbal understandings are where most installation-day disagreements begin. If you plan to spread out payments, review flooring financing options early so approval is settled before the order goes in.
A Week-by-Week Flooring Prep Timeline
Lead times vary by product and season, so this calendar starts once an installation date is on the books. Treat it as a schedule you can scale up or down, whether the job is one bedroom or an entire main level.
| Timeframe | What to do | Why it matters |
|---|---|---|
| 2–3 weeks before | Confirm product, transitions, trim and furniture plan in writing; request HOA or building approval | Changes after ordering cause delays and lot mismatches |
| The week before | Empty closets, pack breakables and wall art, book pet care, schedule appliance disconnects | Packing on install morning delays the start |
| The day before | Clear remaining items, unplug electronics, confirm HVAC settings, clear the driveway | Crews can begin with layout instead of moving |
| Installation day | Do the start walkthrough, keep kids and pets in a safe zone, stay reachable | Questions get answered before the floor covers them |
| First week after | Follow cure times, add felt pads, return furniture gradually, ventilate | Adhesives and finishes keep curing after the crew leaves |
Leave extra room for older homes
Intown bungalows, crawl-space houses and any home with past leaks deserve a little extra margin, because removal can uncover repairs. Hardwood has its own rhythm, especially when the floor is sanded and finished on site; our hardwood installation timeline walks through each stage and what affects its length.
Keep a decision-maker available
Have an adult decision-maker on site the first morning and at the final walkthrough, or at least reachable by phone. Questions like where a transition lands or which direction boards should run down a hallway need an answer in minutes, not at the end of the day.
Get a prep plan built around your rooms
A free in-home estimate covers measurements, a look at existing conditions and a written scope that spells out who moves what before anything is ordered.
Book My Free Estimate →Material Delivery, Storage and Acclimation
Where the boxes should go
Flooring arrives heavy and in quantity. Clear a dry, conditioned space for it before delivery: the empty installation rooms, or a room right next to them. A garage, carport or screened porch is usually the wrong spot in Atlanta, where conditions out there swing far more than inside the house. Keep boxes flat, off exterior walls and away from supply vents and sunny windows.
Acclimation, only where the product calls for it
Solid and many engineered wood products need time to adjust to the home before installation, and the manufacturer specifies how, often alongside moisture readings taken by the installer. That step is a standard part of professional hardwood floor installation. Some luxury vinyl plank and laminate lines list a short acclimation period, while others say none is required. Tile does not acclimate the same way, and carpet installers simply want the material and any adhesive at room temperature. If the boxes sit unopened, opened or cross-stacked, it is because the product instructions say so.
Keep the HVAC running at normal settings
Run the heat or air conditioning at the conditions you normally live with, starting before delivery and continuing through installation and afterward. Of every preparation step, this is the one most often undone by good intentions: someone turns the system off to save energy while the house is torn up. In a humid Atlanta summer, an unconditioned house can gain moisture quickly, and wood-based products absorb it. Adhesives, grout and finishes also have temperature ranges printed on the label.
Moving Furniture Before Flooring Installation
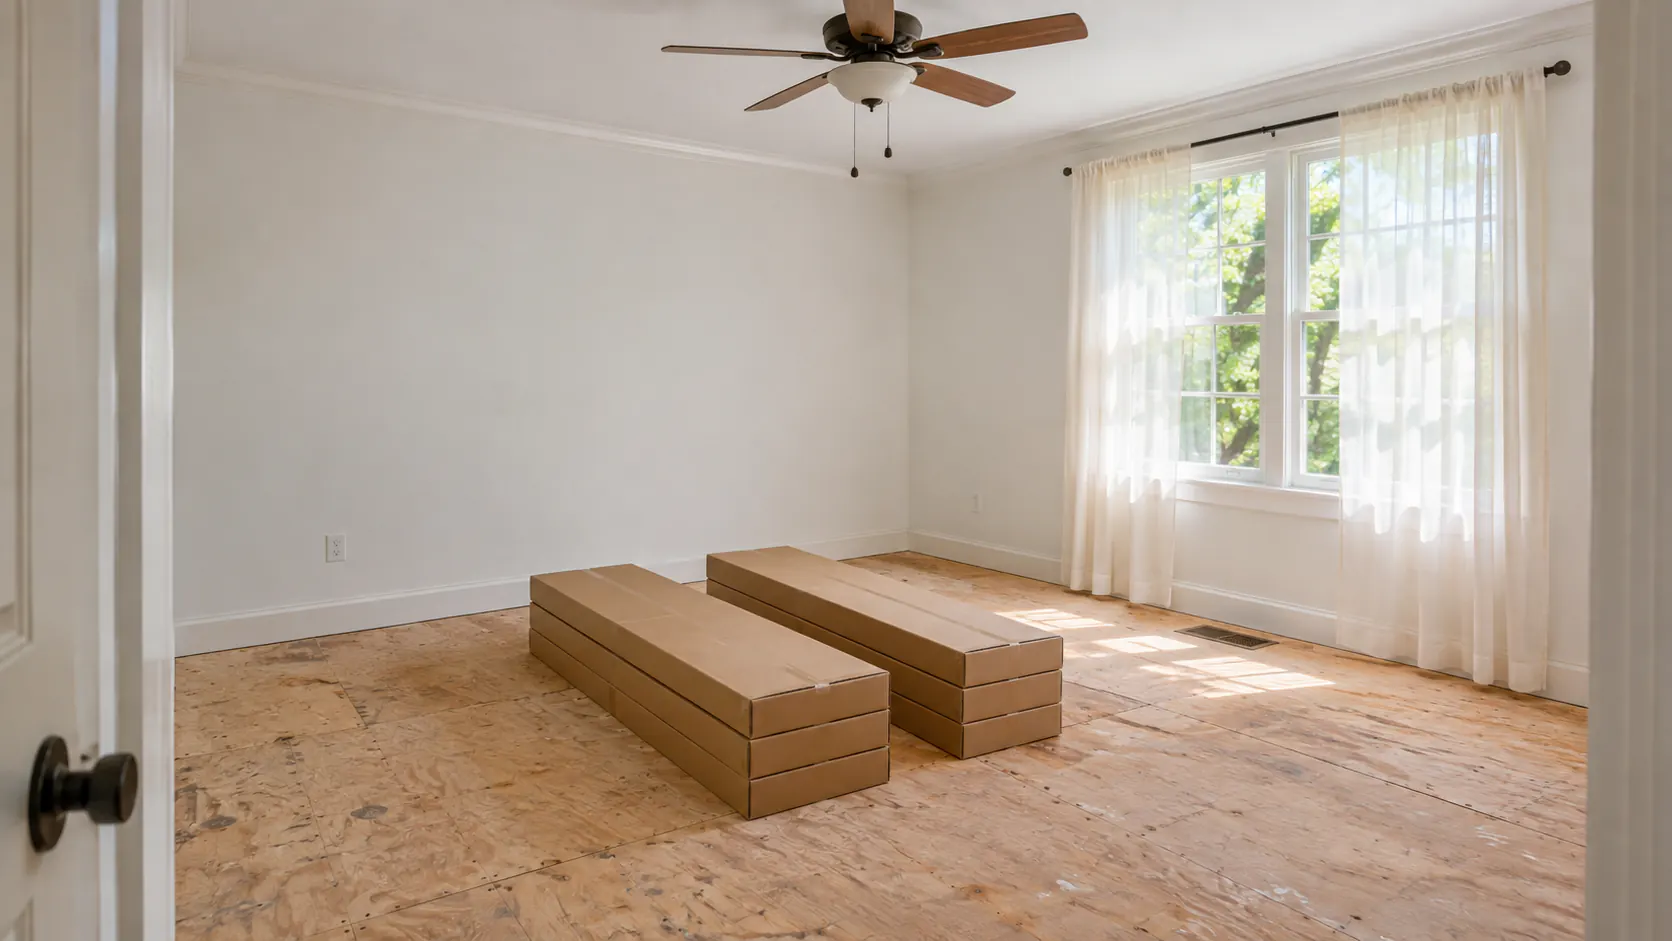
An empty room is the biggest favor you can do the crew, and it is the condition most estimates are written around. If furniture moving is included, ask what is excluded; pianos, safes, aquariums, waterbeds and loaded china cabinets often are. If you are moving furniture before flooring installation yourself, start with closets and small items a week out and leave the large pieces for the last day or two.
Empty more than the floor
Clear closet floors completely when closets are getting new flooring, including shoes, bins and anything stored low. Empty dressers, bookcases and cabinets that will be moved, because full drawers make pieces heavy and prone to racking. Take beds apart if they must leave the room, and tape the hardware in a labeled bag to the frame. Of all the ways to prepare, empty closets rank high with installation crews, since cutting around stored bins is slow and risky for your belongings.
Electronics, breakables and wall art
Unplug and remove TVs, computers, consoles and routers from the work area, and photograph the cable connections first so reconnection is painless. Take framed art, mirrors and shelf decor off the walls in the work rooms and in the rooms next to them; nailing, tapping and saw vibration travel through framing. Pack lamps, plants and anything fragile on nearby tables.
Appliances, water lines and gas
Refrigerators, ranges, dishwashers, washers and dryers usually have to move for kitchen and laundry floors, so decide in writing who handles them. Ice maker and dishwasher supply lines should be shut off and disconnected properly, and older shutoff valves sometimes drip once they are turned, so know where your main water shutoff is. Gas appliances should be disconnected and reconnected only by a qualified, licensed professional where local rules require it; this is not a do-it-yourself job.
- Closets, under-bed storage and low cabinets in the work area are empty.
- Electronics are unplugged, labeled and out of the rooms.
- Wall art, mirrors and shelf items near the work area are packed.
- Appliance disconnects are scheduled with the right trade.
- Valuables, medications and paperwork are stored out of the way.

Access, Parking, HOA Rules and Your Household
Driveway space, parking and the dumpster
Crews need parking near the door, room for a cutting station and a clear path for material in and debris out. Move cars out of the driveway the night before. On larger tear-outs, a dumpster or trailer may need driveway space for the length of the removal, so ask where it will sit and whether boards will protect the concrete. On narrow intown streets with permit-only parking, sort out street access ahead of time.
HOA, condo and elevator rules
Condos, townhomes and many subdivisions set allowed work hours, ask for the contractor's certificate of insurance, restrict dumpsters or require an elevator reservation with protective pads. Many buildings also have sound-control requirements for hard flooring that dictate the underlayment. Rules vary widely between intown high-rises and suburban subdivisions across our service areas, so submit requests two to three weeks ahead.
Kids, pets and working from home
Installation is loud. Saws, nailers and tear-out tools run for much of the day, and fine dust travels even with plastic sheeting and protected walkways. Set up a safe zone for children and pets away from the work and from the path the crew uses, and treat work rooms, the cutting area and the dumpster as off-limits. Many dogs are happier at a friend's house or daycare on the loudest days, and cats need a closed room with a note on the door so no one lets them out.
If you work from home, schedule important calls for a room far from the work, or plan to work elsewhere during demolition and cutting, the noisiest stages.
Planning around kids, pets or a home office?
Tell us how your household runs. During the free estimate we can talk through room order, work hours and access so the plan fits the way you live.
Schedule My Free Estimate →Demolition, Disposal and What Removal May Reveal
Tear-out and haul-away
Removing old carpet, sheet vinyl, tile or wood is the dustiest, noisiest part of most jobs. Confirm whether removal and disposal are in the estimate and how debris leaves the house. Tile and glued-down floors take far more effort than carpet, and leftover mortar or adhesive may need scraping or grinding before anything new goes down.
What may be underneath
Removal sometimes uncovers water-stained or soft subfloor, loose panels that squeak, uneven concrete, old adhesive or past termite damage. These findings matter because every new floor depends on a flat, sound, dry base. Ask in advance how discoveries are handled and priced. Our guide to subfloor preparation in Atlanta explains what installers check and why.
Homes built before 1978
In a house built before 1978, painted baseboards, door edges and trim may contain lead-based paint, and removing trim, trimming doors or sanding can turn it into hazardous dust. The EPA's Renovation, Repair and Painting program sets lead-safe work practices for contractors in these homes, so ask how your contractor complies and keep children and pregnant family members away from that work. Some older vinyl tiles and adhesives can also contain asbestos and should be tested by a qualified professional before anyone disturbs them. Mention the home's age at the estimate.
Doors, trim and stairs
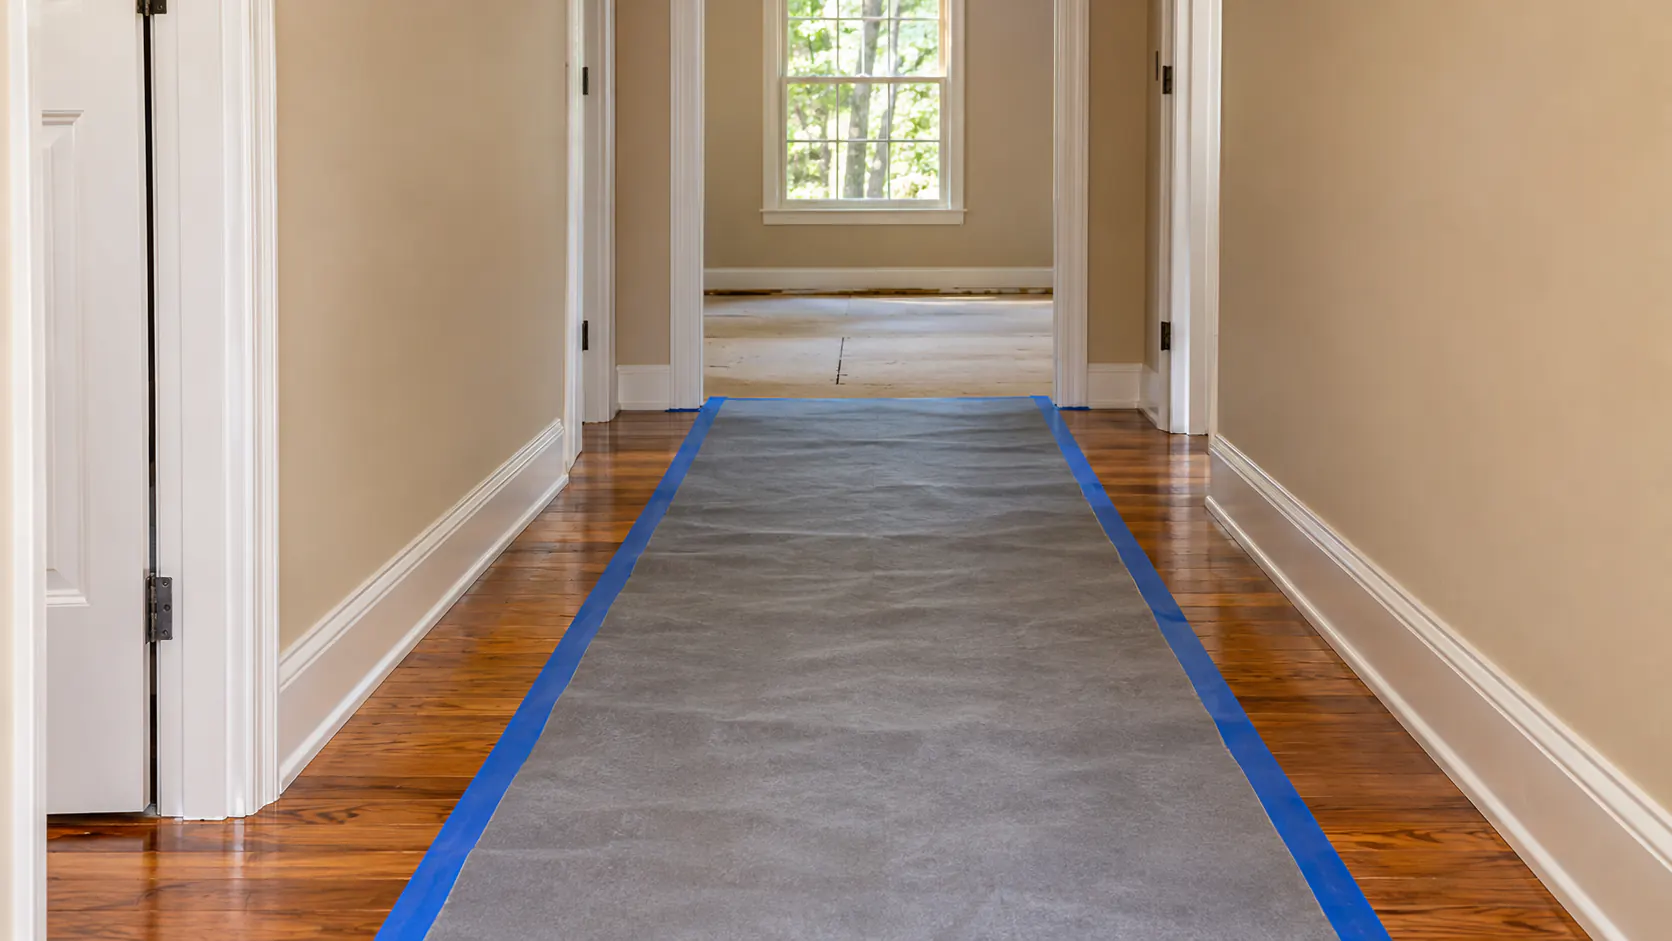
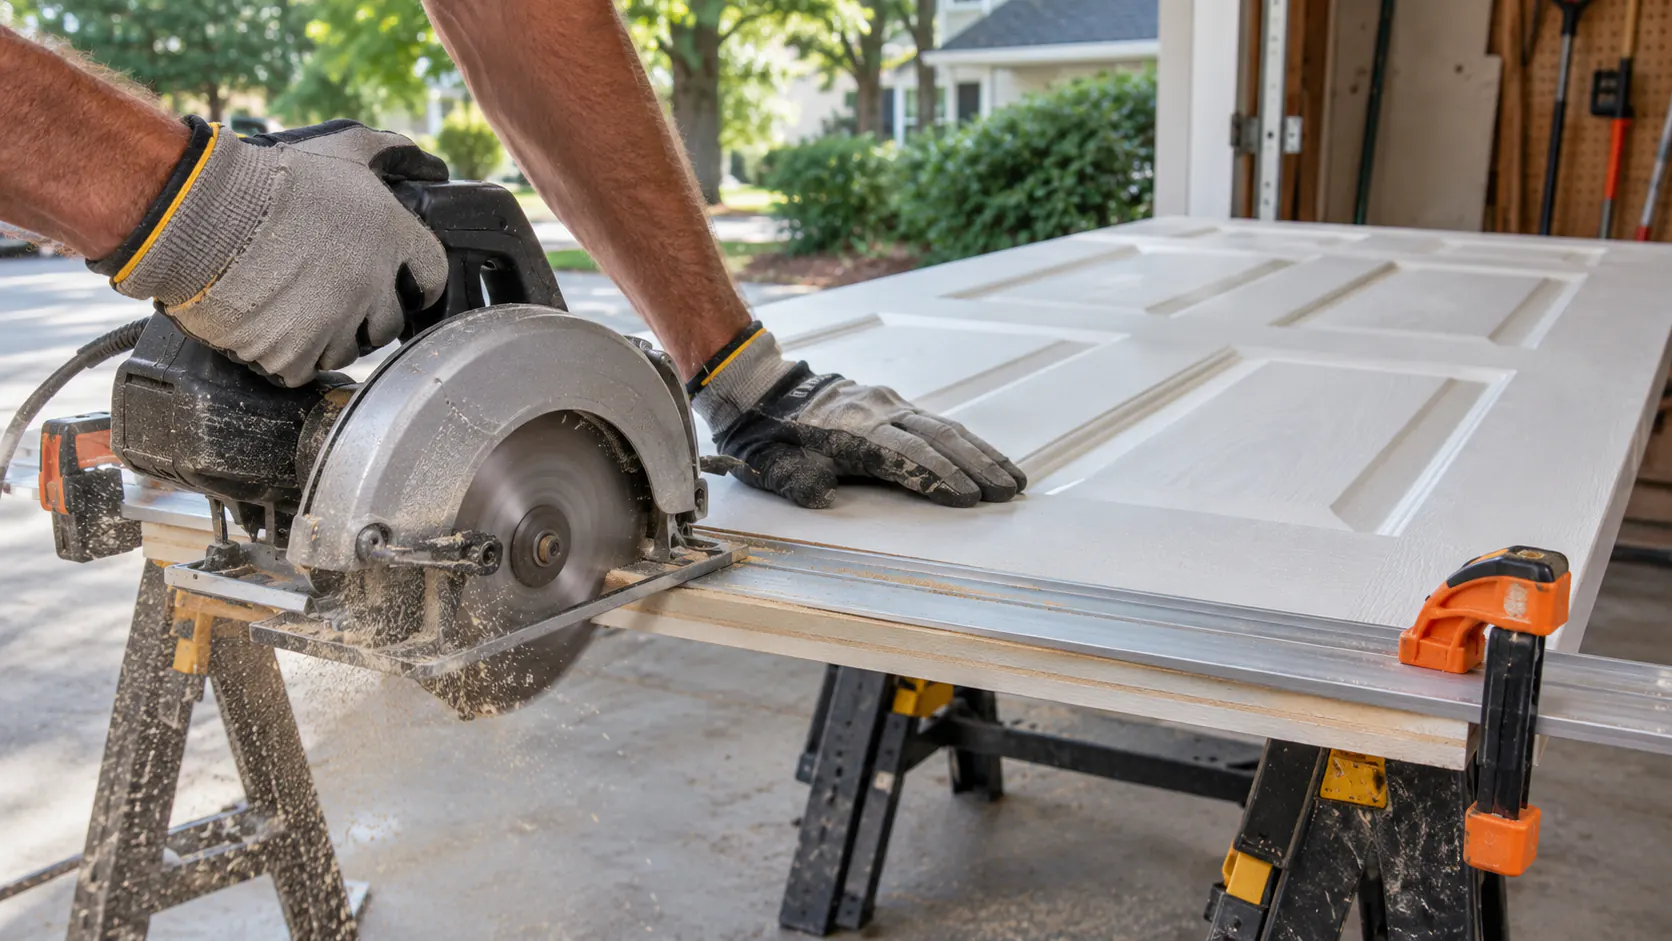
A new floor can sit higher than the old one, especially when hard flooring replaces carpet and pad or when underlayment is added. Interior doors may need to come off and be trimmed at the bottom so they swing freely, and closet doors, door stops and thresholds may need adjusting. Baseboards either stay put with new shoe molding or quarter round covering the expansion gap, or come off and go back on. Expect some caulk and paint touch-up afterward, and confirm who does it.
Stairs are a project inside the project. Treads and nosings have to meet the new floor at the landing, and added thickness at the top or bottom step changes step height, which a qualified professional should check against local code. The stairway may be out of service for part of the job, so plan around it if the bedrooms are upstairs.
Flooring Installation Day Checklist
Installation day is where the preparation from the weeks before pays off. It should start with a walkthrough, not with saws: the lead installer confirms the scope, board direction, transitions and anything unexpected, and that is the moment to raise questions. This flooring installation day checklist keeps the morning on track.
- Clear the driveway and the path from the door to the work rooms.
- Check that the thermostat is at normal living settings, and leave it there.
- Settle pets in their safe room or drop them off before the door starts opening.
- Walk the rooms with the lead installer to confirm product, direction and transitions.
- Point out vents, squeaks, soft spots and anything you know about past leaks.
- Agree on where cutting happens, where material is staged and which bathroom the crew can use.
- Confirm who to call with questions, and stay reachable all day.
- Ask which areas are off-limits overnight and when you can walk on the new floor.
- Schedule the final walkthrough for before the crew packs up.
What a normal installation day looks like
Expect noise, steady traffic through one entry and some dust despite containment. Progress rarely looks linear: the first hours can go to prep, layout and leveling with no new floor in sight, followed by rapid coverage. Tile, glue-down and site-finished wood projects often stretch across more days than floating floors because setting and curing must happen between steps, and the exact pace depends on square footage, layout and what removal uncovered.
The final walkthrough
Before the crew leaves, walk every room in good light. Look at transitions, cuts around vents and door casings, door swing, trim condition and any spots that sound hollow underfoot. Ask for the leftover material, the care instructions and the product details for your records. If a question comes up later, our flooring FAQ page answers many common ones.
After Installation: The First Week on New Floors
Cure and dry times depend on the product
Floating LVP and laminate, along with carpet, can often take light foot traffic soon after the crew finishes. Glue-down floors, tile grout and site-applied wood finishes need longer. Each adhesive, grout and finish lists its own wait before walking, furniture and rugs, and those windows stretch in cool or humid weather. Follow the written instructions your installer leaves rather than a neighbor's experience with a different product.
Bringing furniture back
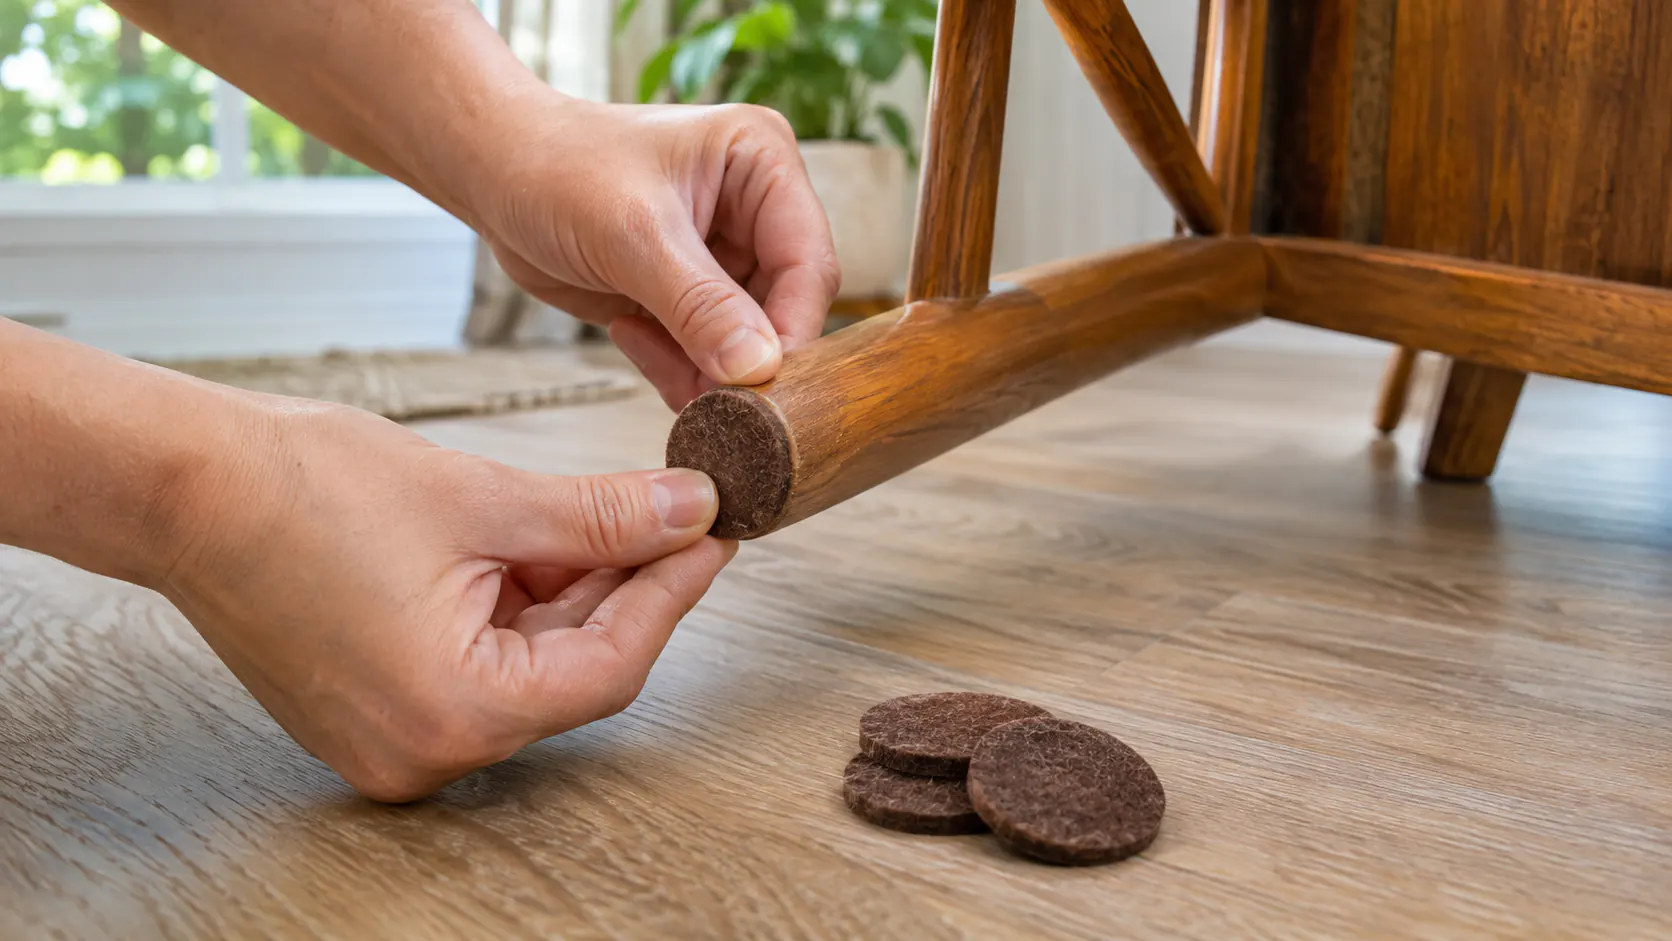
Return furniture gradually and lift pieces into place; dragging causes most new-floor scratches. Add felt pads to chair and table legs before they touch the floor, and check them now and then for trapped grit. Rolling office chairs need a mat or soft casters made for hard floors. After a carpet installation, wide furniture cups under heavy pieces spread the load and reduce deep crush marks.
Rug pads and the first cleaning
Not every rug pad is safe on every floor. Some rubber and plastic backings can discolor vinyl and finished wood, so choose a pad the flooring manufacturer approves, and wait until any finish has cured before laying rugs. For the first cleaning, sweep or vacuum on a hard-floor setting and use only a cleaner approved for the surface; skip steam mops and wet mopping on wood and laminate. Our flooring maintenance guide covers the routine from there.
Odor, ventilation and leftovers
New finishes, adhesives and some carpet can give off odors as volatile organic compounds dissipate. Ventilate as the product instructions allow, with fresh air and HVAC fans, and consider having sensitive family members stay elsewhere during site finishing. Then store a box or two of leftover planks or tile, plus the product name, color, lot number and care sheet, in a dry closet inside the house. Matching a discontinued floor years from now is hard; a few spare pieces make a repair simple.
Ready to put a date on the calendar?
Get a written scope that covers removal, furniture, transitions and trim, plus a prep plan for your household, during a free in-home estimate.
Get My Free Estimate →
Frequently asked questions
How far ahead should I start preparing for a flooring installation?
Start two to three weeks out with decisions, building approvals and scheduling, then do most of the packing and clearing in the final week. Larger projects, condos and homes with stairs or appliances to move benefit from extra lead time.
Do I need to move furniture myself before the installers arrive?
It depends on your estimate. Some installers move standard furniture but exclude heavy or fragile items such as pianos and loaded china cabinets, while others expect empty rooms. Get the answer in writing, and empty drawers, closets and shelves either way.
Should I turn off the air conditioning while floors are being installed?
No. Keep heating or cooling running at normal living conditions before, during and after the work, because flooring products, adhesives and finishes are designed to be installed and cured in that range.
Can I stay home during flooring installation?
Usually, as long as you can stay out of the work area and tolerate noise and dust. Heavy demolition and site-finished hardwood are the stages when many families, especially those with young children, pets or sensitivities, choose to be elsewhere.
How soon can I walk on new floors and move furniture back?
It varies by product and method. Floating floors and carpet are often ready for light use soon after installation, while glue-down floors, tile and site-finished hardwood need the cure times printed on their adhesive, grout or finish, which your installer should leave in writing.
Who disconnects the refrigerator, washer and gas range?
Confirm it in your written estimate before the start date. Water lines are often handled by the installer or a plumber, but gas appliances should be disconnected and reconnected only by a qualified, licensed professional where local rules require it.
Why should I keep leftover flooring after installation?
Spare material from the same lot makes it much easier to repair a damaged plank or tile later, since colors change and products get discontinued. Store it flat in a conditioned space with the product name, color and lot number.
Published and reviewed November 10, 2026. Manufacturer instructions, local codes and the conditions found on site control every acclimation, installation and cure-time decision.
Editorial references: The EPA Renovation, Repair and Painting program explains lead-safe work requirements for renovations in homes built before 1978, the EPA overview of volatile organic compounds and indoor air quality covers sources such as finishes and adhesives and the role of ventilation, and the National Association of Home Builders consumer resources offer general homeowner guidance on remodeling projects and working with contractors. These resources provide context; product instructions and site conditions control the final work.